Introduction
Watertight: Boolean Vs Wrapping
Check our "3D Printing Story" out!
|
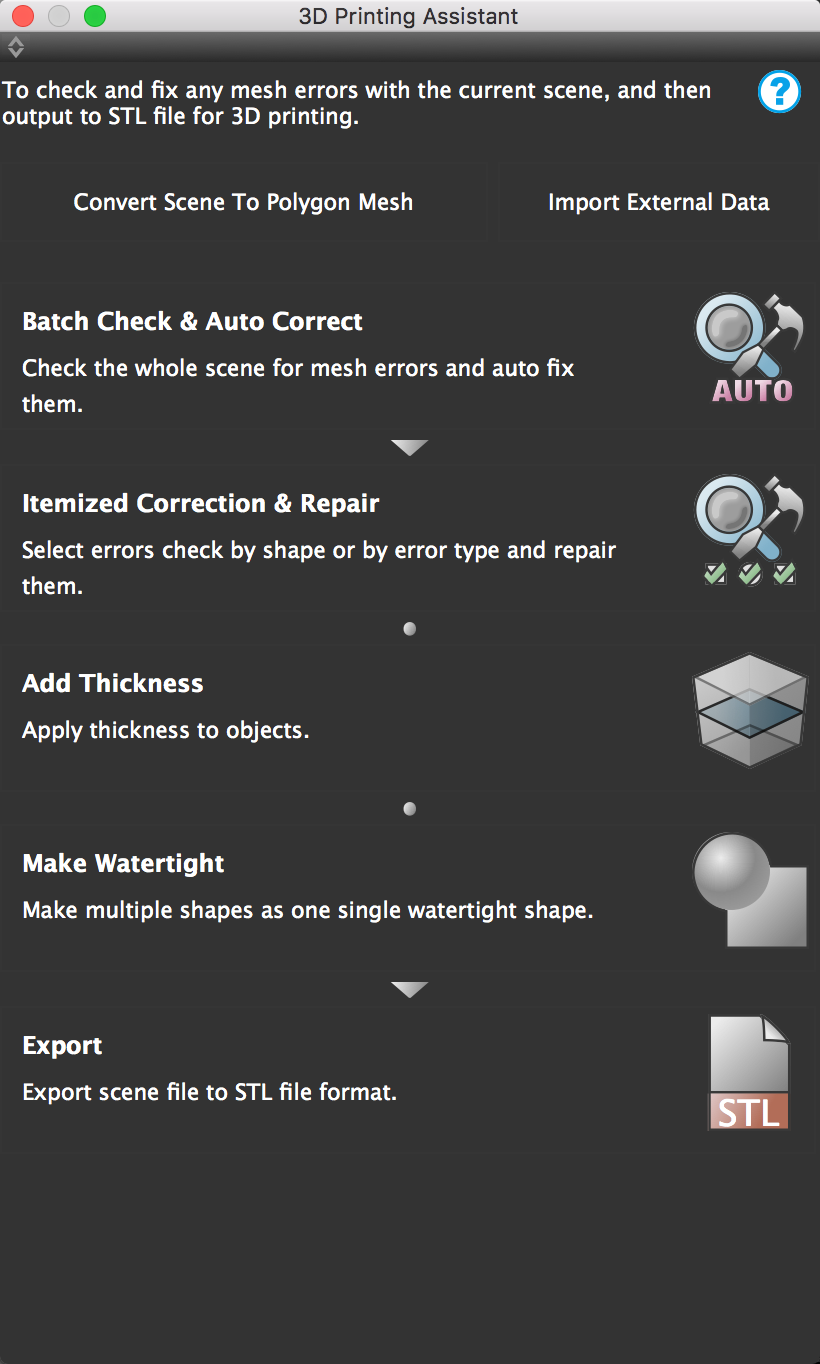
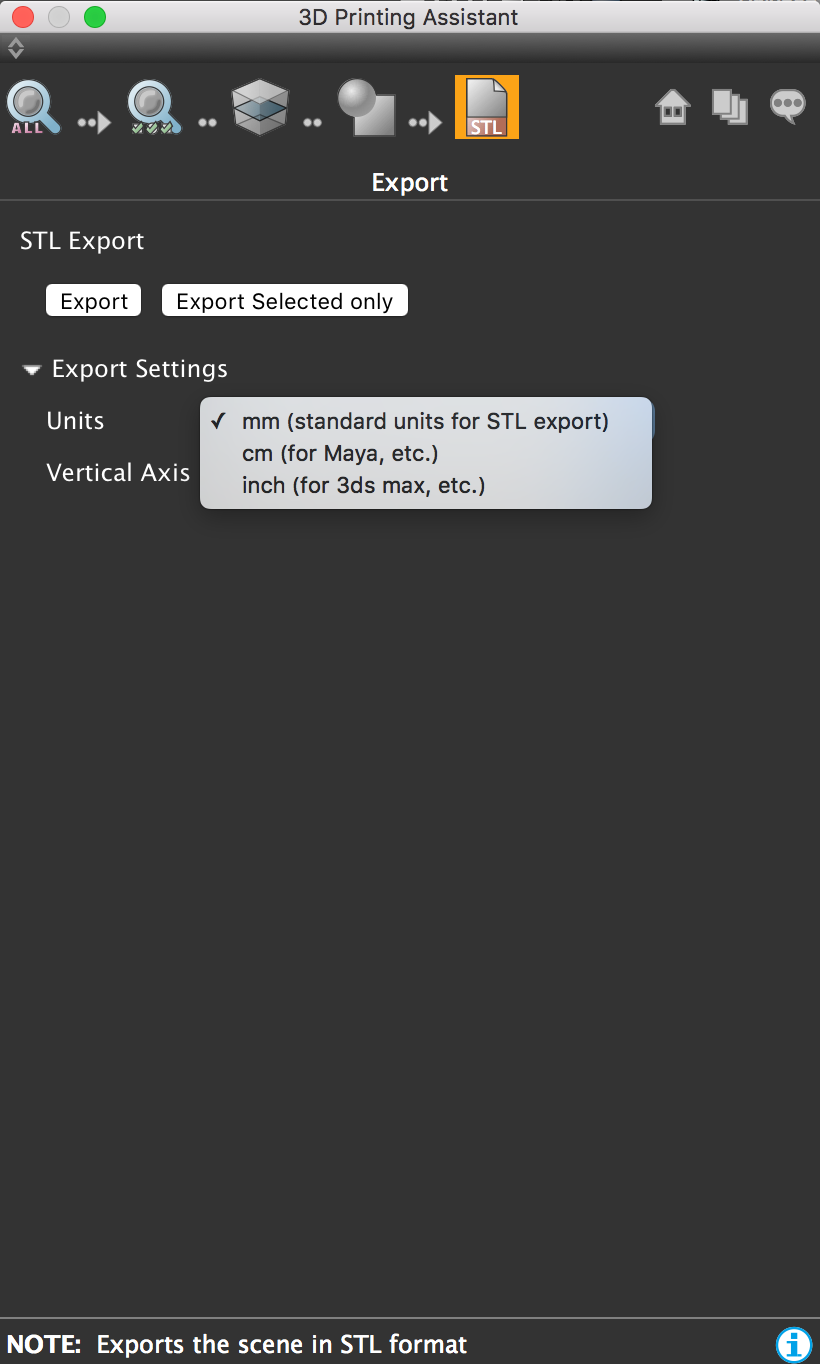
So you are done with your modeling and you want to 3D print it! But how? Well, with Shade 3D, that is pretty simple: We have implemented a 3D Printing Assistant that will basically do all the work for you. Once done, you will need to export your STL file to a slicer ( the one recommended by your 3D printer's maker). |
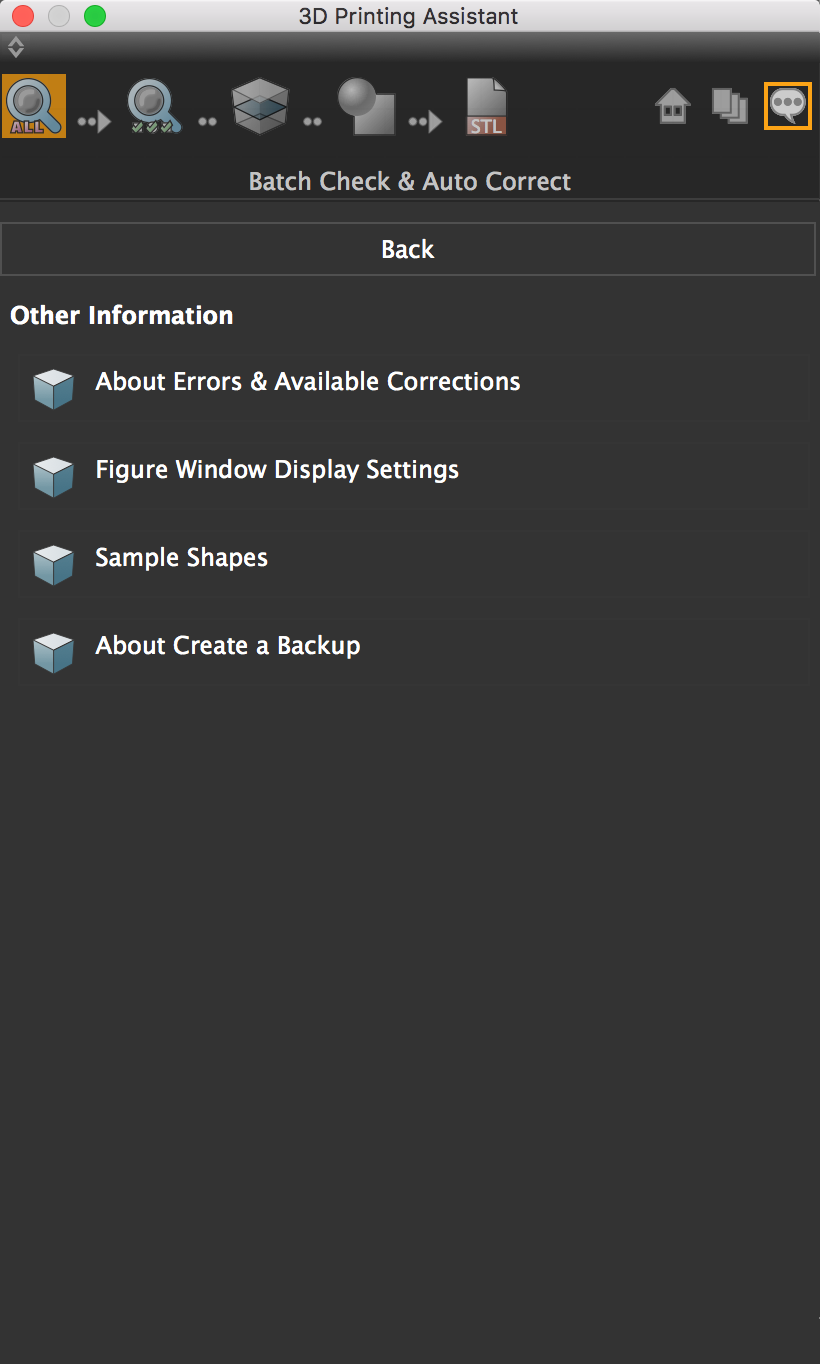
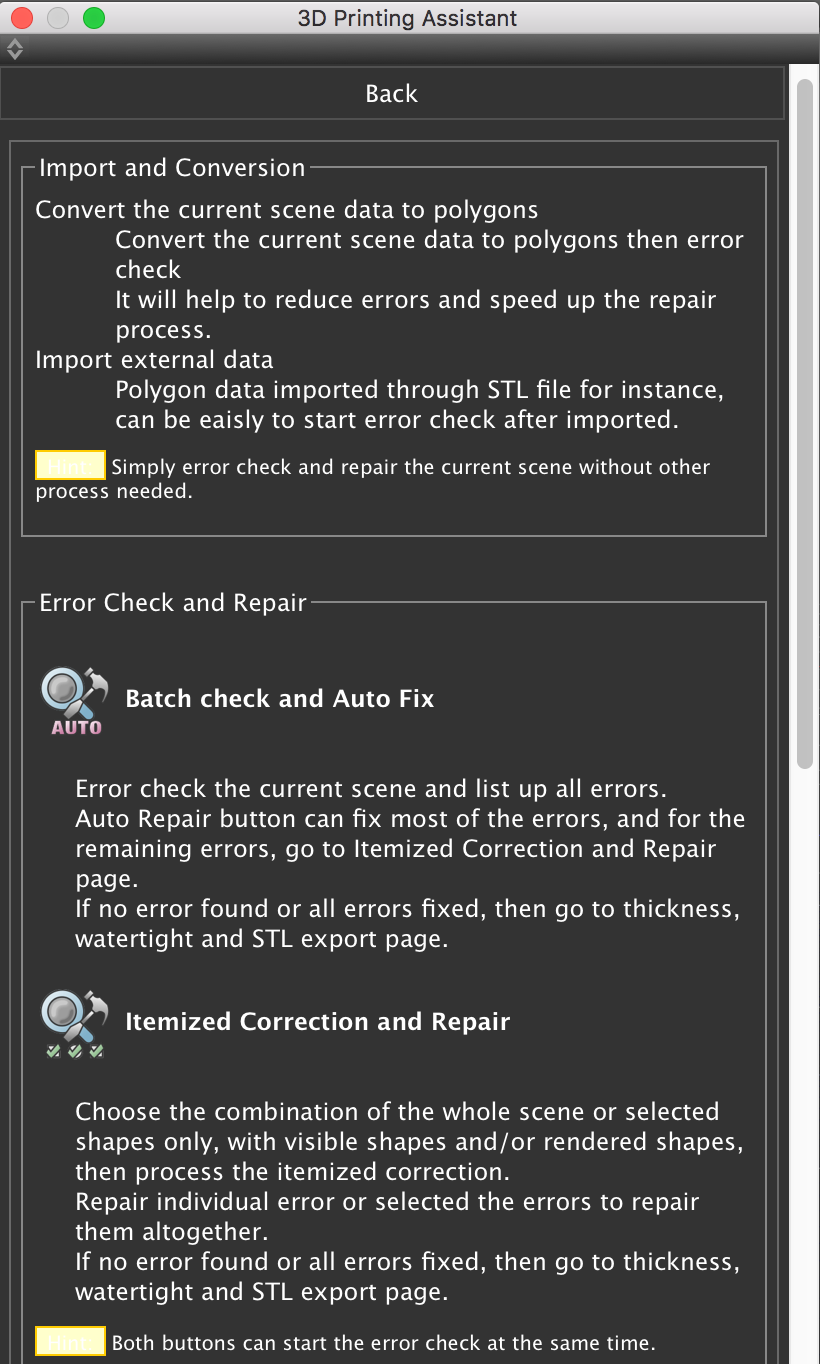
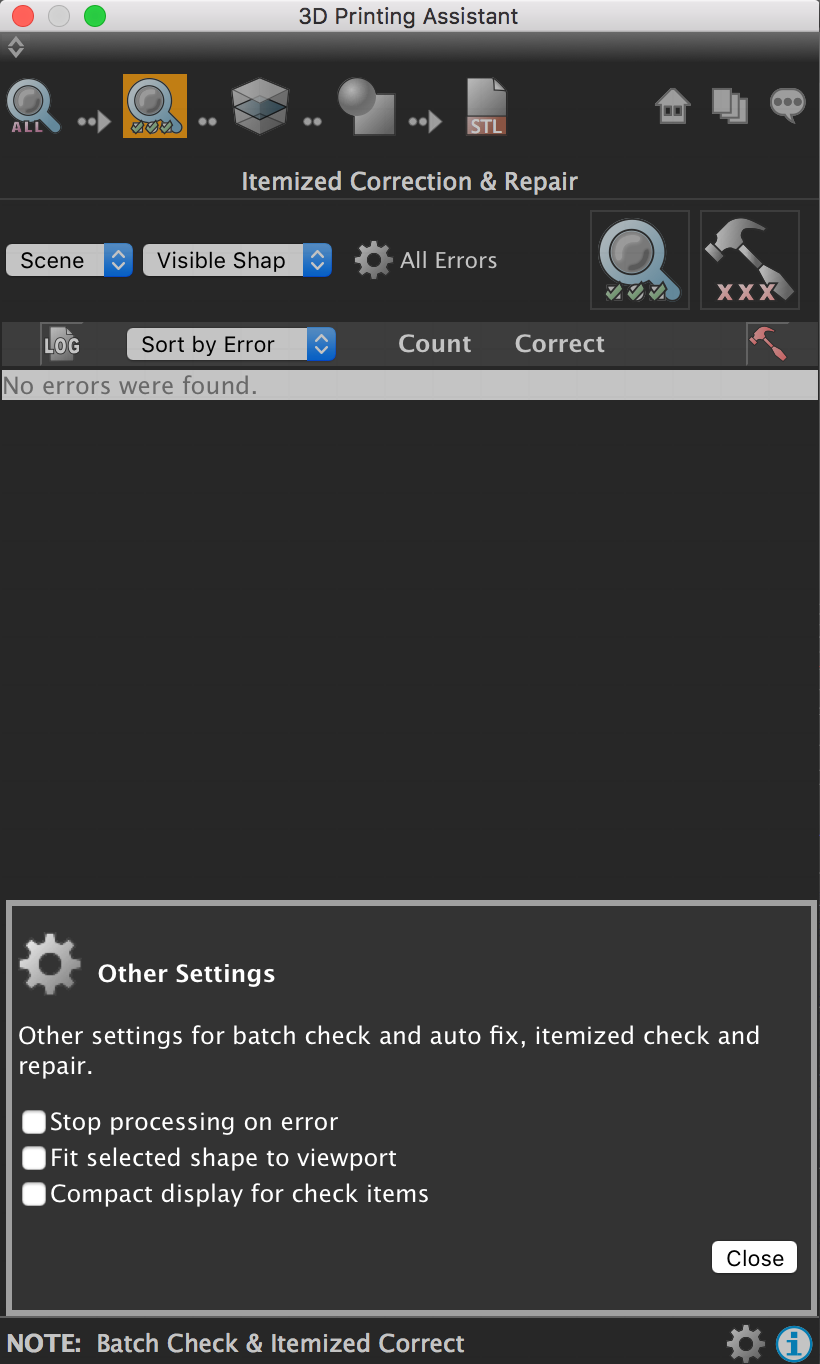
The 3D Printing Assistant
|
Screen 1 |
Screen 2 |
Screen 3 |
Screen 4 |
|
Screen 5 |
Info screen |
Menus explained |
Other settings |
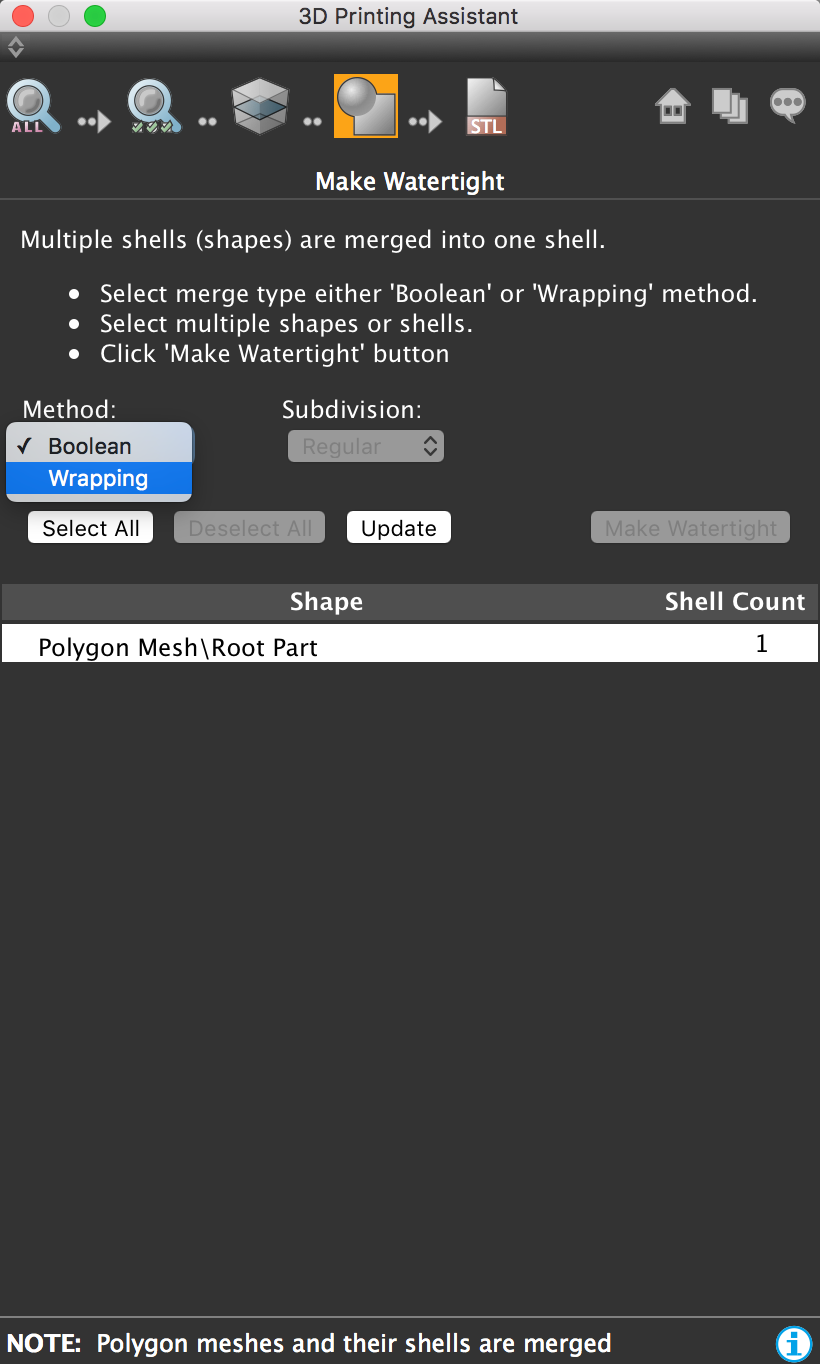
Watertight: Boolean Vs Wrapping Mesh
You will need to make your mesh watertight, which mean no holes or cracks or missing elements in your object!
The 3D Printing assistant offers you 2 ways: The Boolean way and the Wrapping ( wrapping mesh) way.
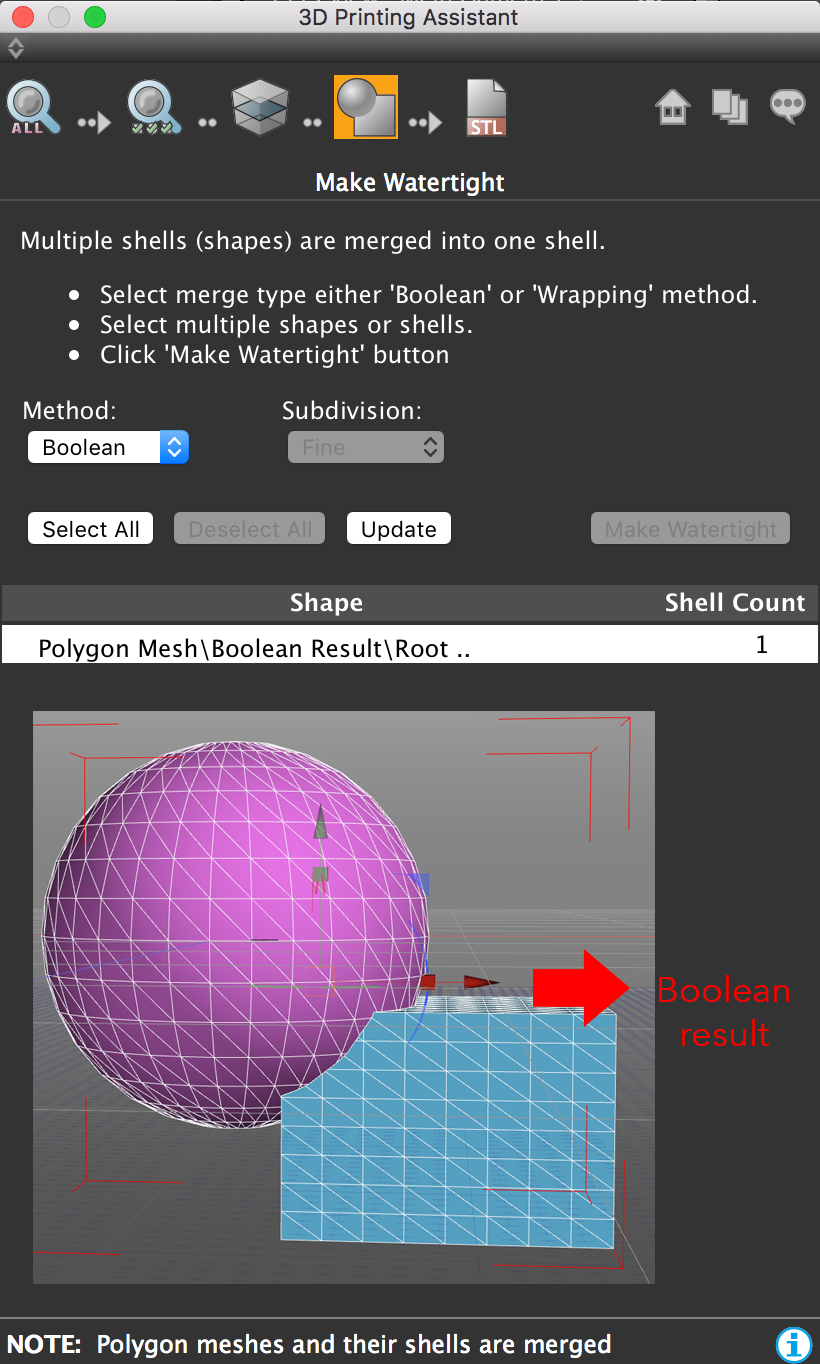
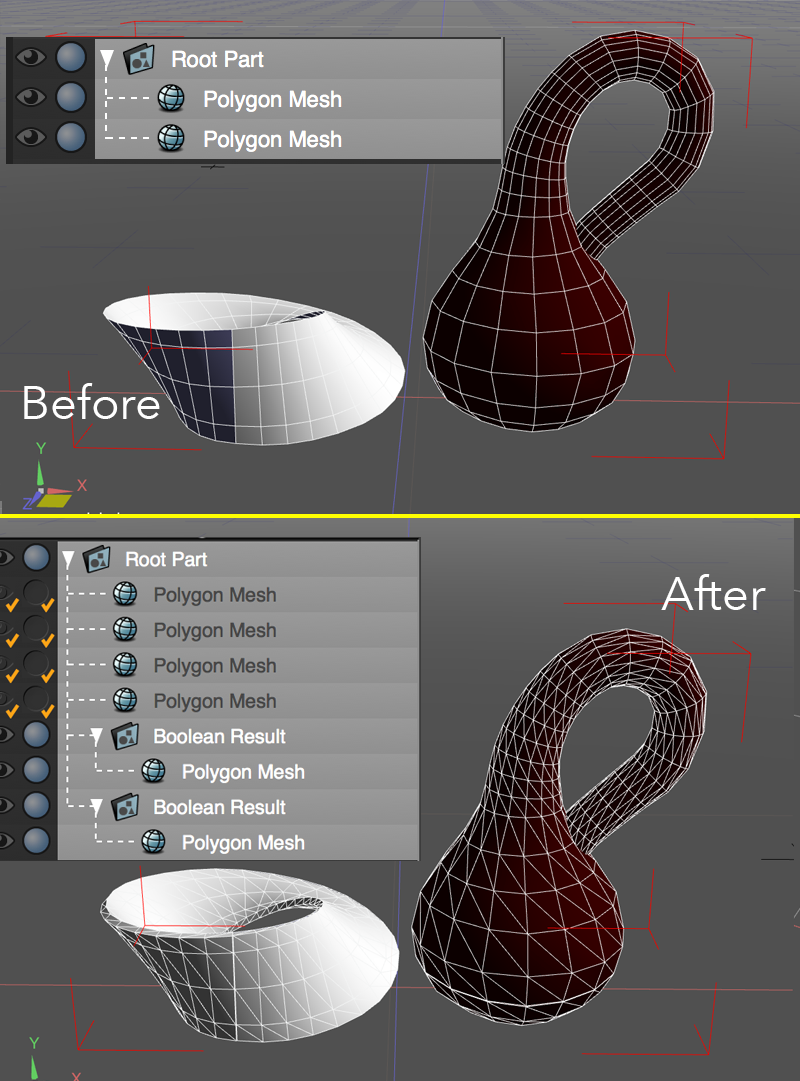
The Boolean method:
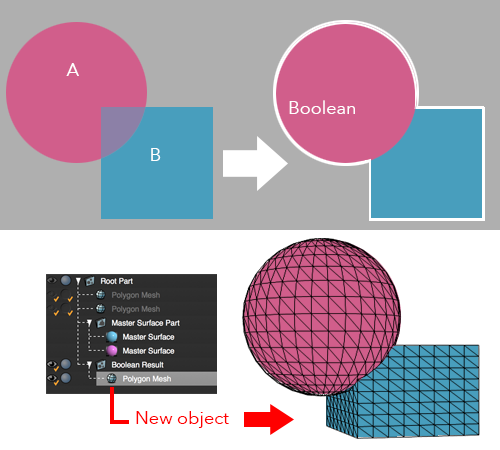
|
Before: The 2 objects are overlapping each others. |
After: The assistant will repair the meshes by performing a boolean operation. |

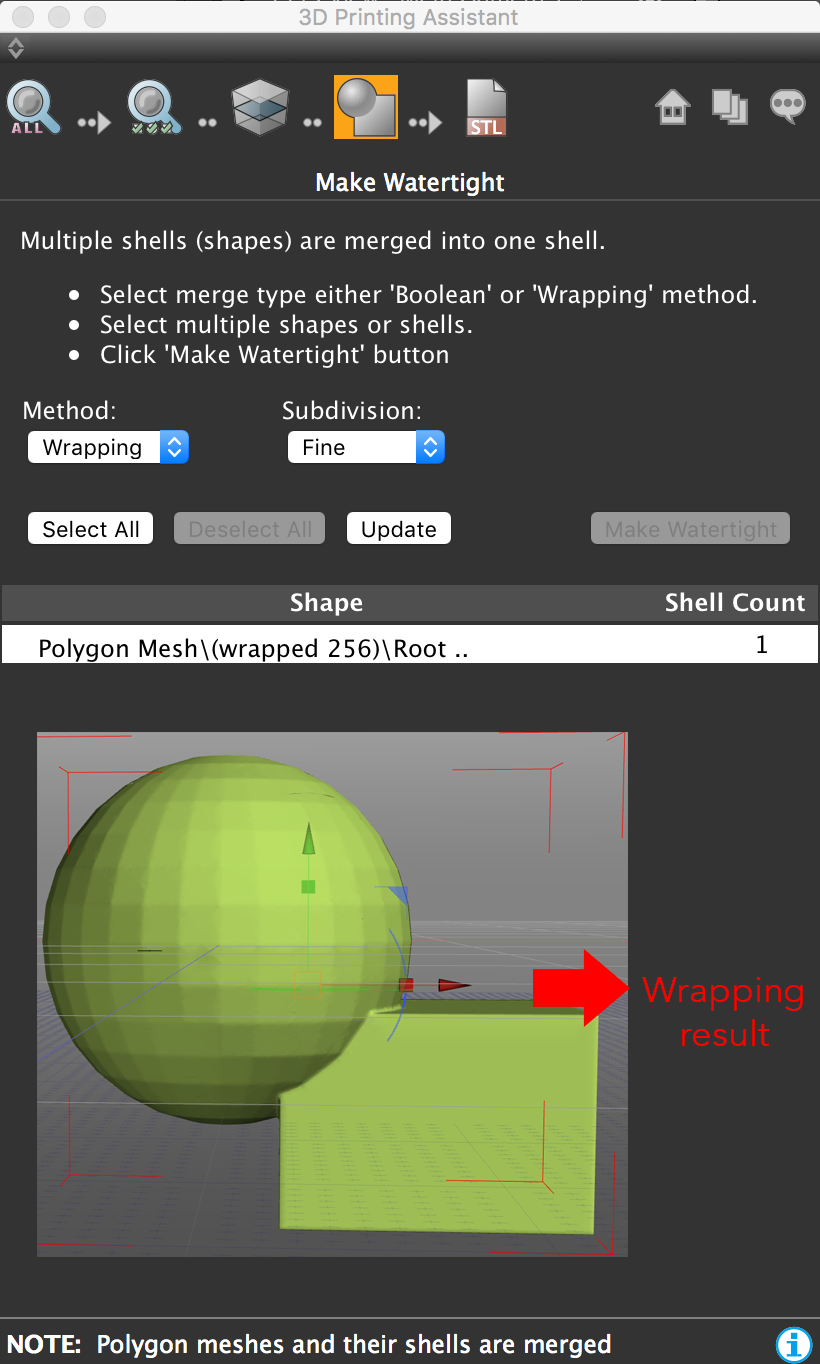
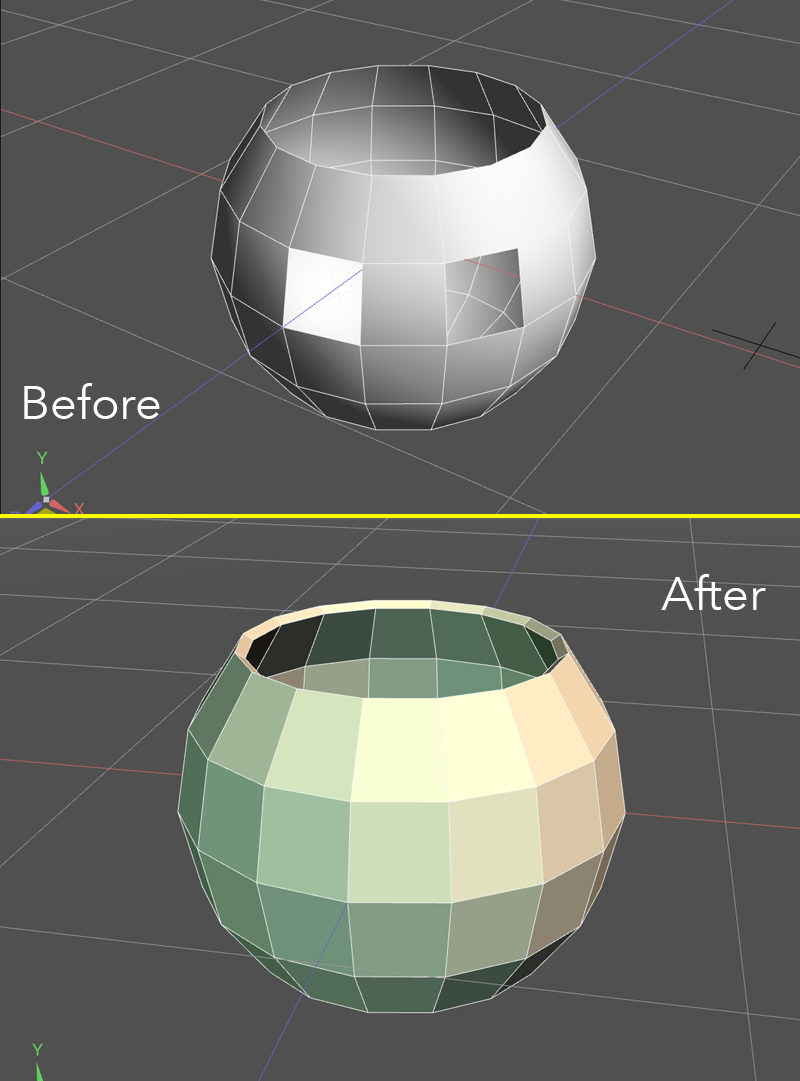
The Wrapping method:

|
Before: Two shells are deteted. |
After: A Wrapping Mesh has been applied over these shells, here with a "Fine" Subdivision setting. |

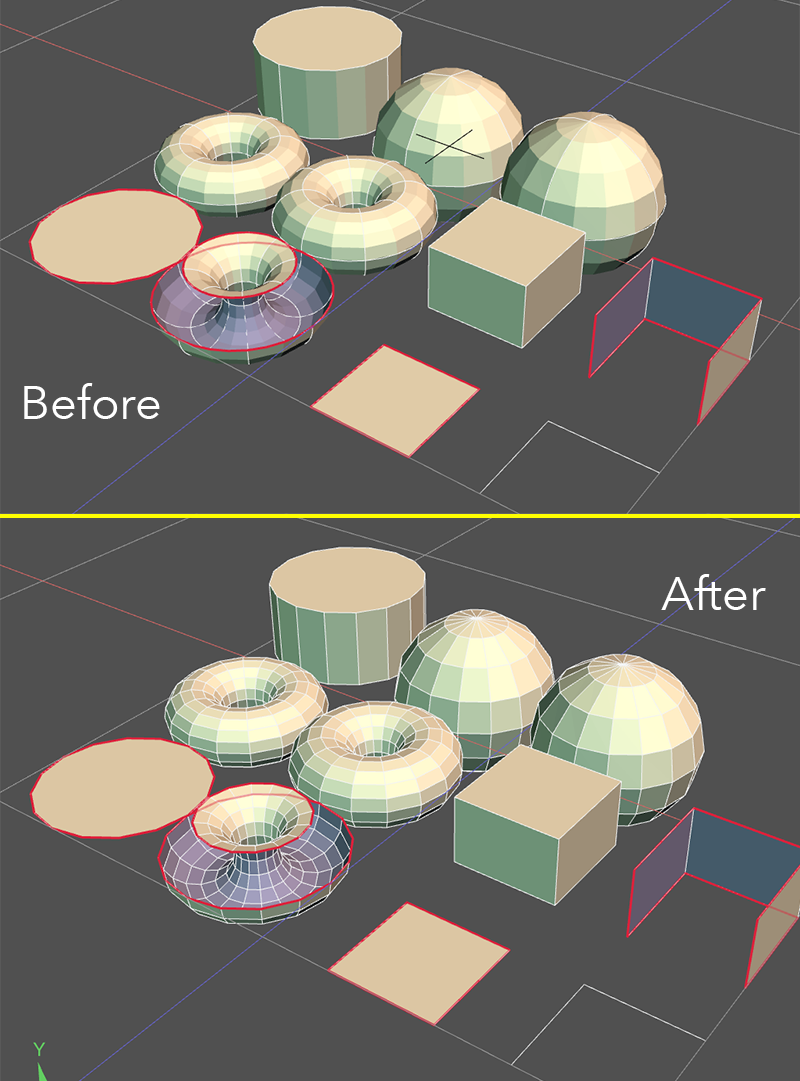
Errors Detected
Here is a list of the problems that can be detected by Shade 3D's 3D Printing Assistant:
8- Border Edge
Non-Polygon Shape
Any shape that is not made out of polygons (curved surface, revolved lines...), pretty simple.
Available correction processes: Convert to Polygons, Leave as-is.
Auto Correct: None.
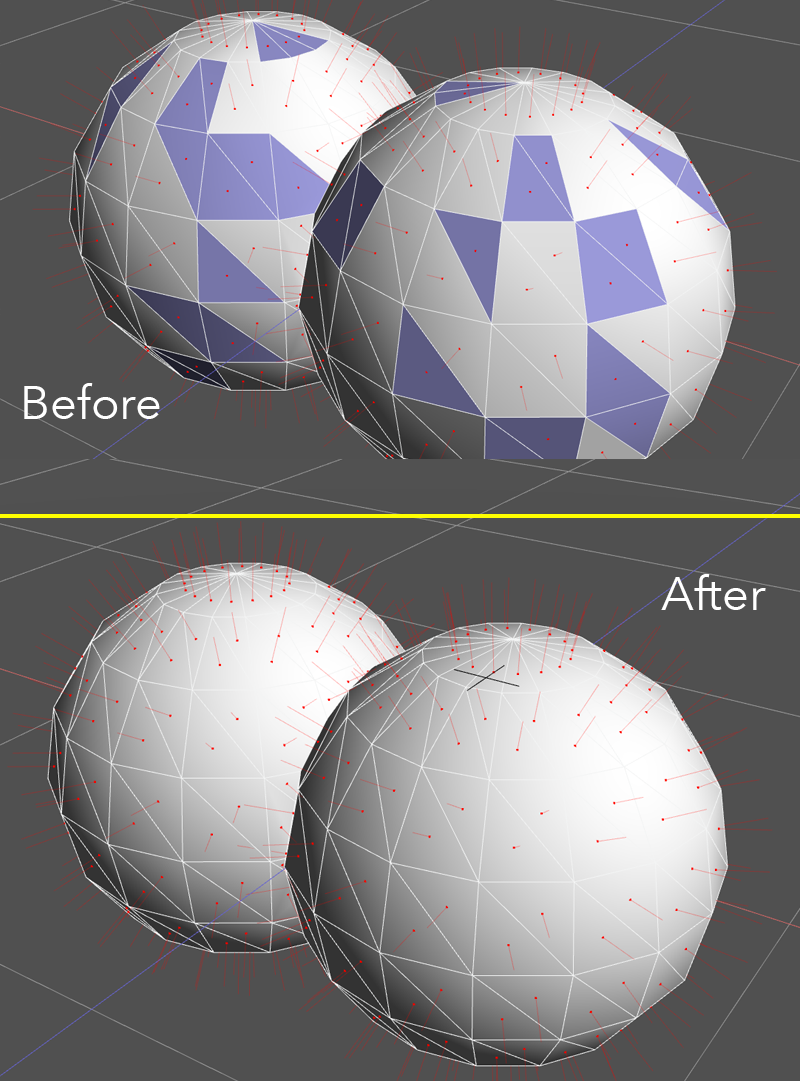
Overlapping Elements
Some of your vertices, faces are overlapping.
Available correction processes: Merge, Leave as-is.
Auto Correct: Merge.
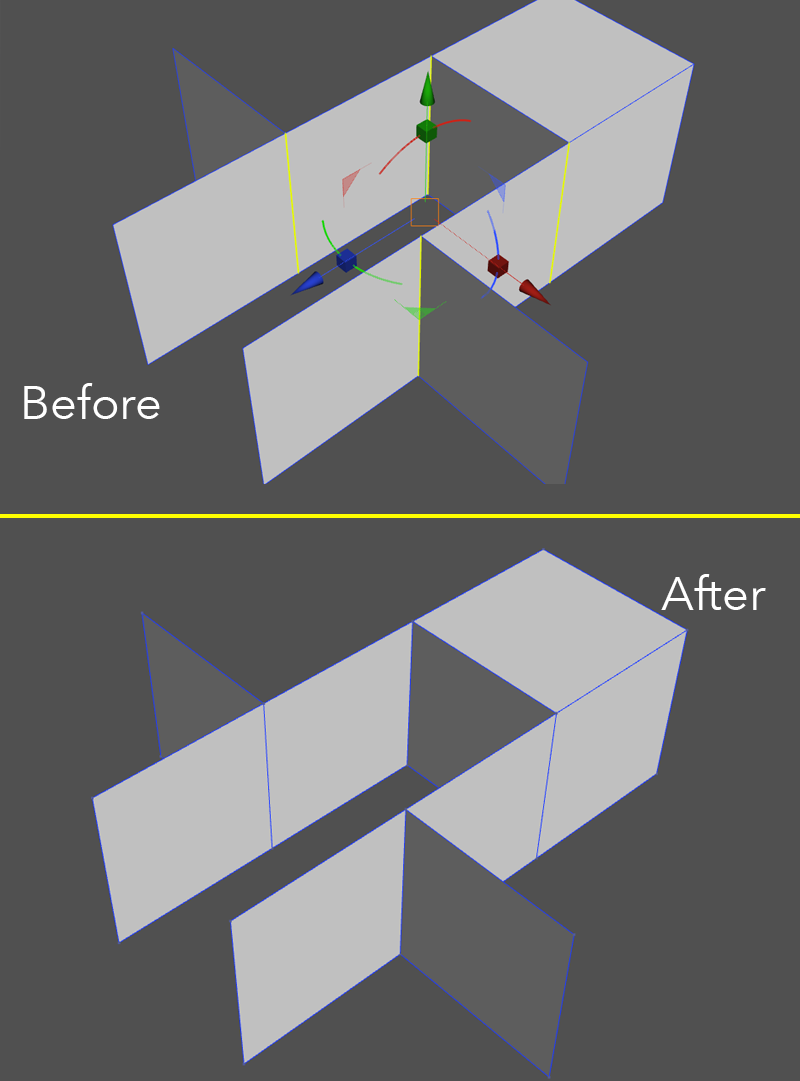
Discontinuous Faces
Some elements of your object are disconnected ( in a single mesh).
Available correction processes: Separate Discontinuous Faces, Separate Shells, Leave as-is.
Auto Correct: Separate Discontinuous Faces.

Internal Face
Faces that are enclosed inside a polygon mesh are found and removed.
Available correction processes: Remove, Leave as-is.
Auto Correct: Separate Shells.
Inconsistent Normals
Flipped normals are found and corrected so that all the normals lines face outwards uniformly.
Available correction processes: Merge, Leave as-is.
Auto Correct: Merge.
Non-Orientable Surface
Shapes with no clear front and back faces, such as the Moebius Strip and Klein bottle, are detected.
Thses shapes must be corrected by hand. First divide the shape into separate pieces, each of which must have definable front and back surfaces. Next add thickness to these pieces, and finally integrate them back into a single shape using the Make Watertight function.
Available correction processes: None. Manually Repair.
Auto Correct: None.
Non-Manifold Edge
Any non-manifold edges ( an edge connected to three or more faces) are found and separated.
Available correction processes: Remove, Separate, Leave as-is.
Auto Correct: Separate Shells.
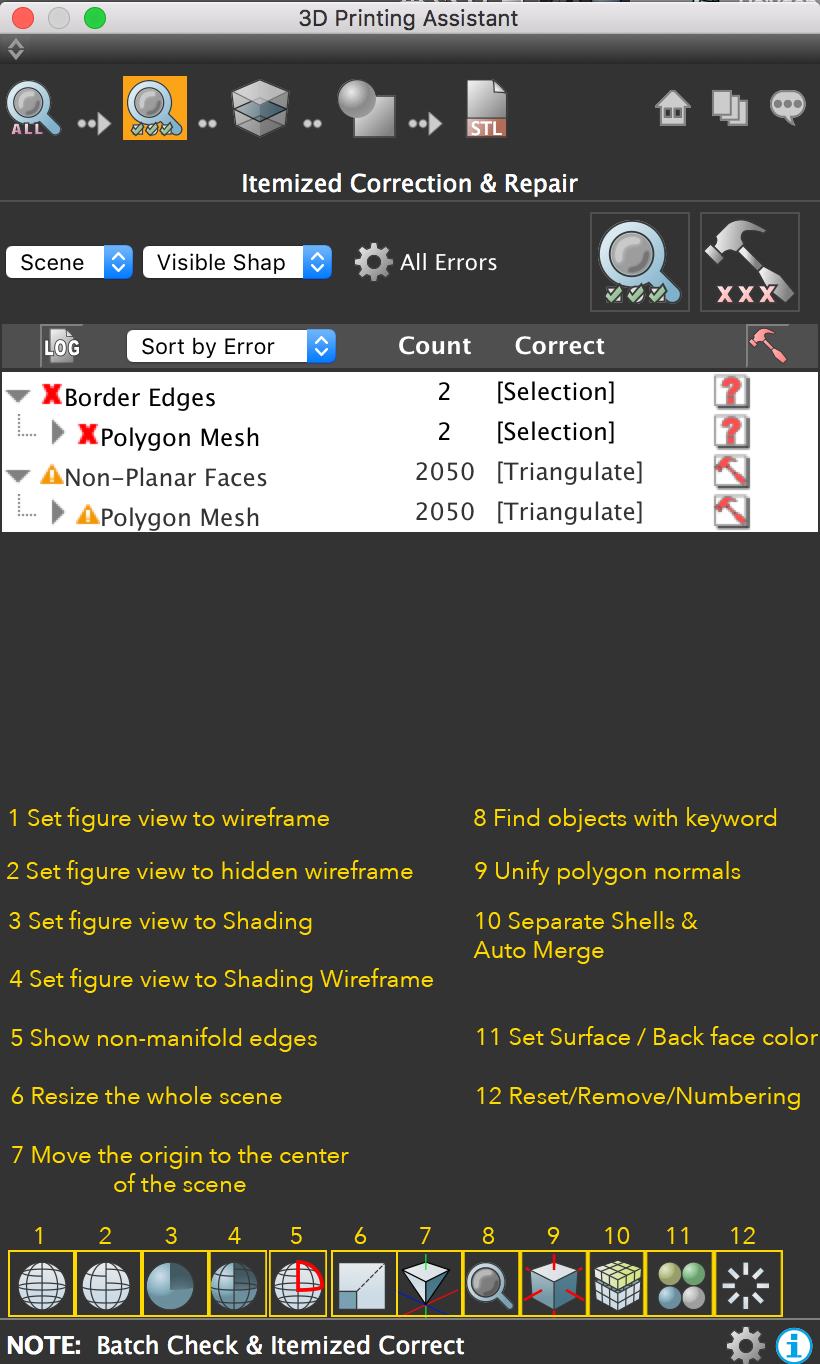
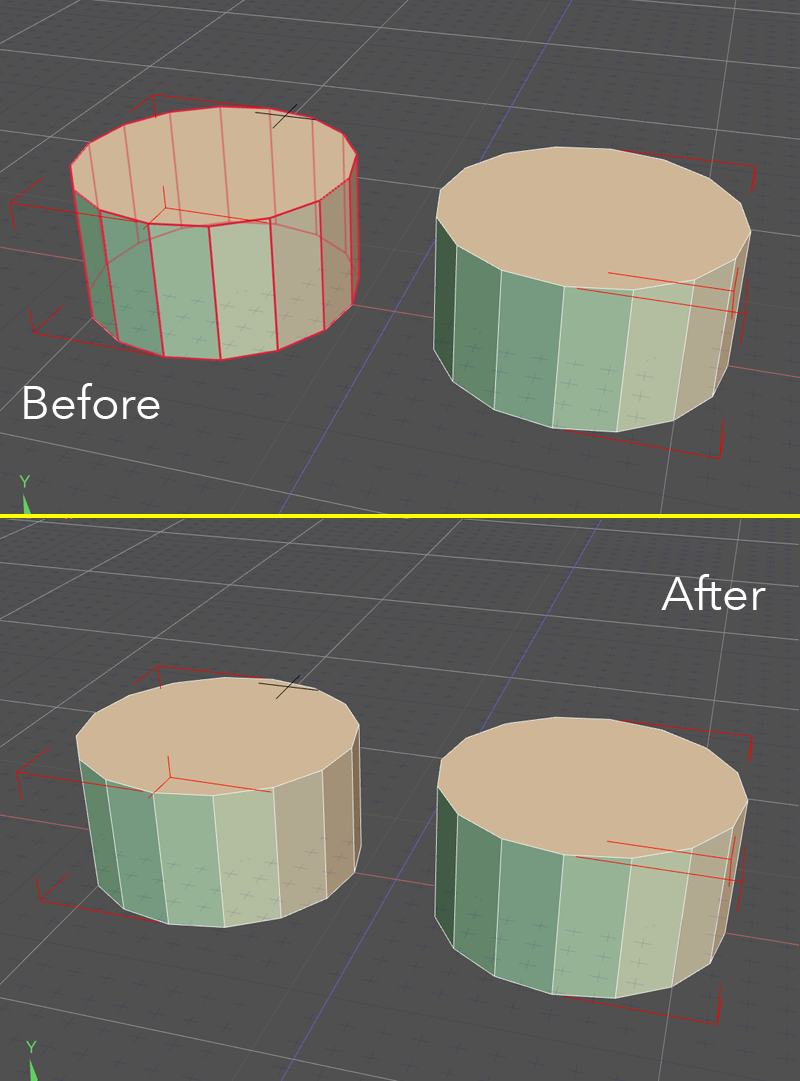
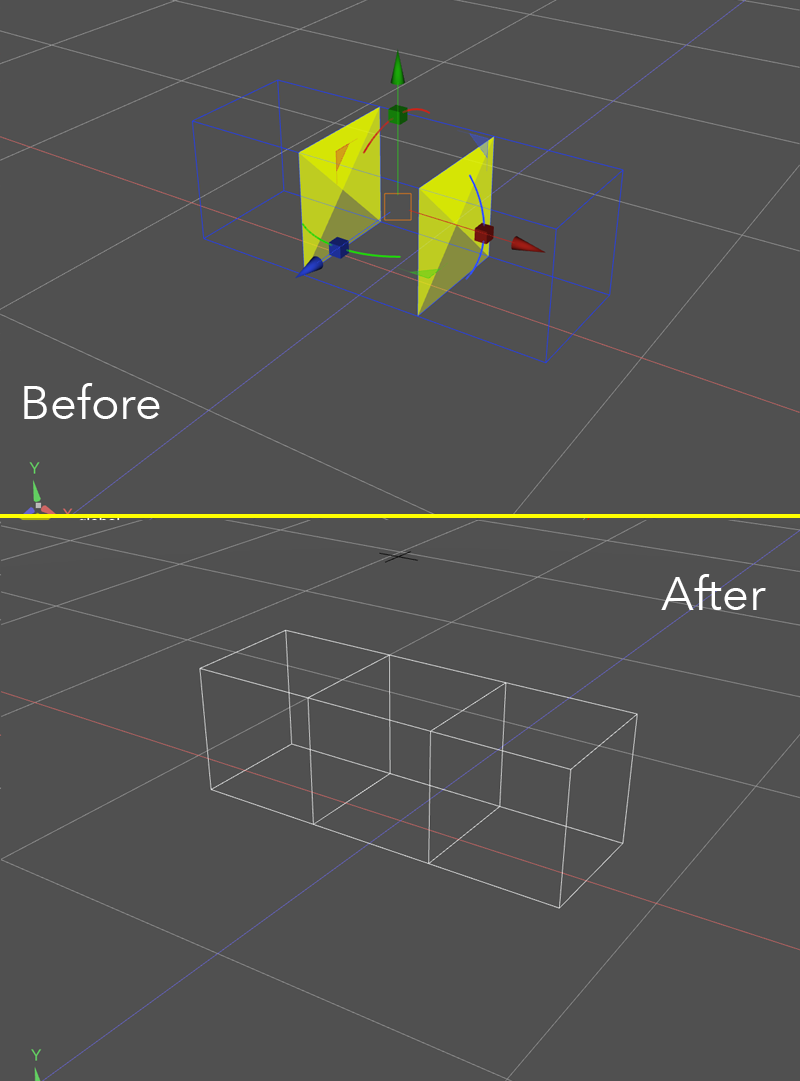
Border Edge
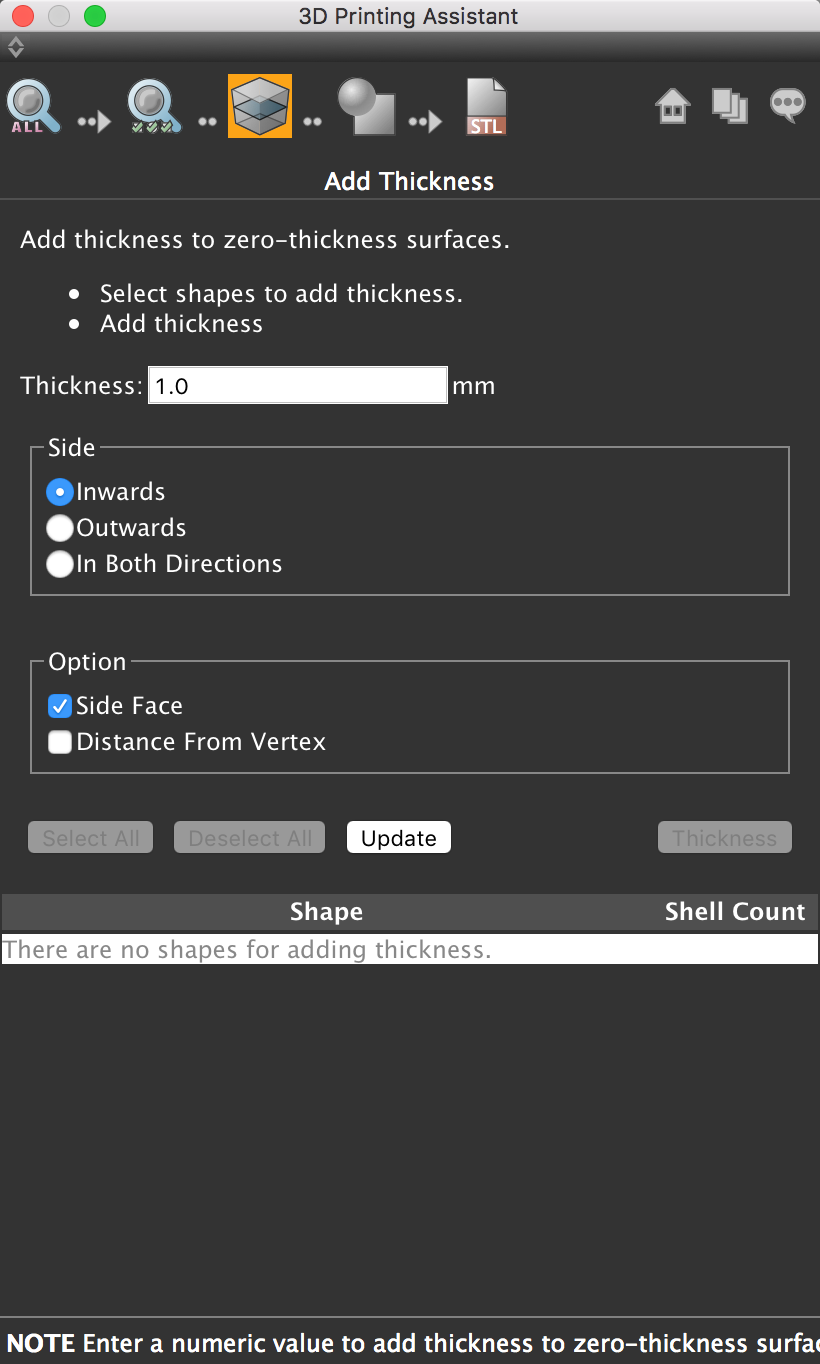
Edges only connected to one face (border edges) are found and either Fill Hole or Add Thickness is applied.
Available correction processes: Fill Hole, Add Thickness, Leave as-is.
Auto Correct: None.
Non-Planar Face
A non-planar face is a polygonal face made up of 4 or more vertices which do not all lie on the same plane. A non-planar face can result if one of the vertices forming a quadrilateral is moved perpendicular to the face independent of the quadrilateral's other vertices.
Available correction processes: Triangulate, Leave as-is.
Auto Correct: None.

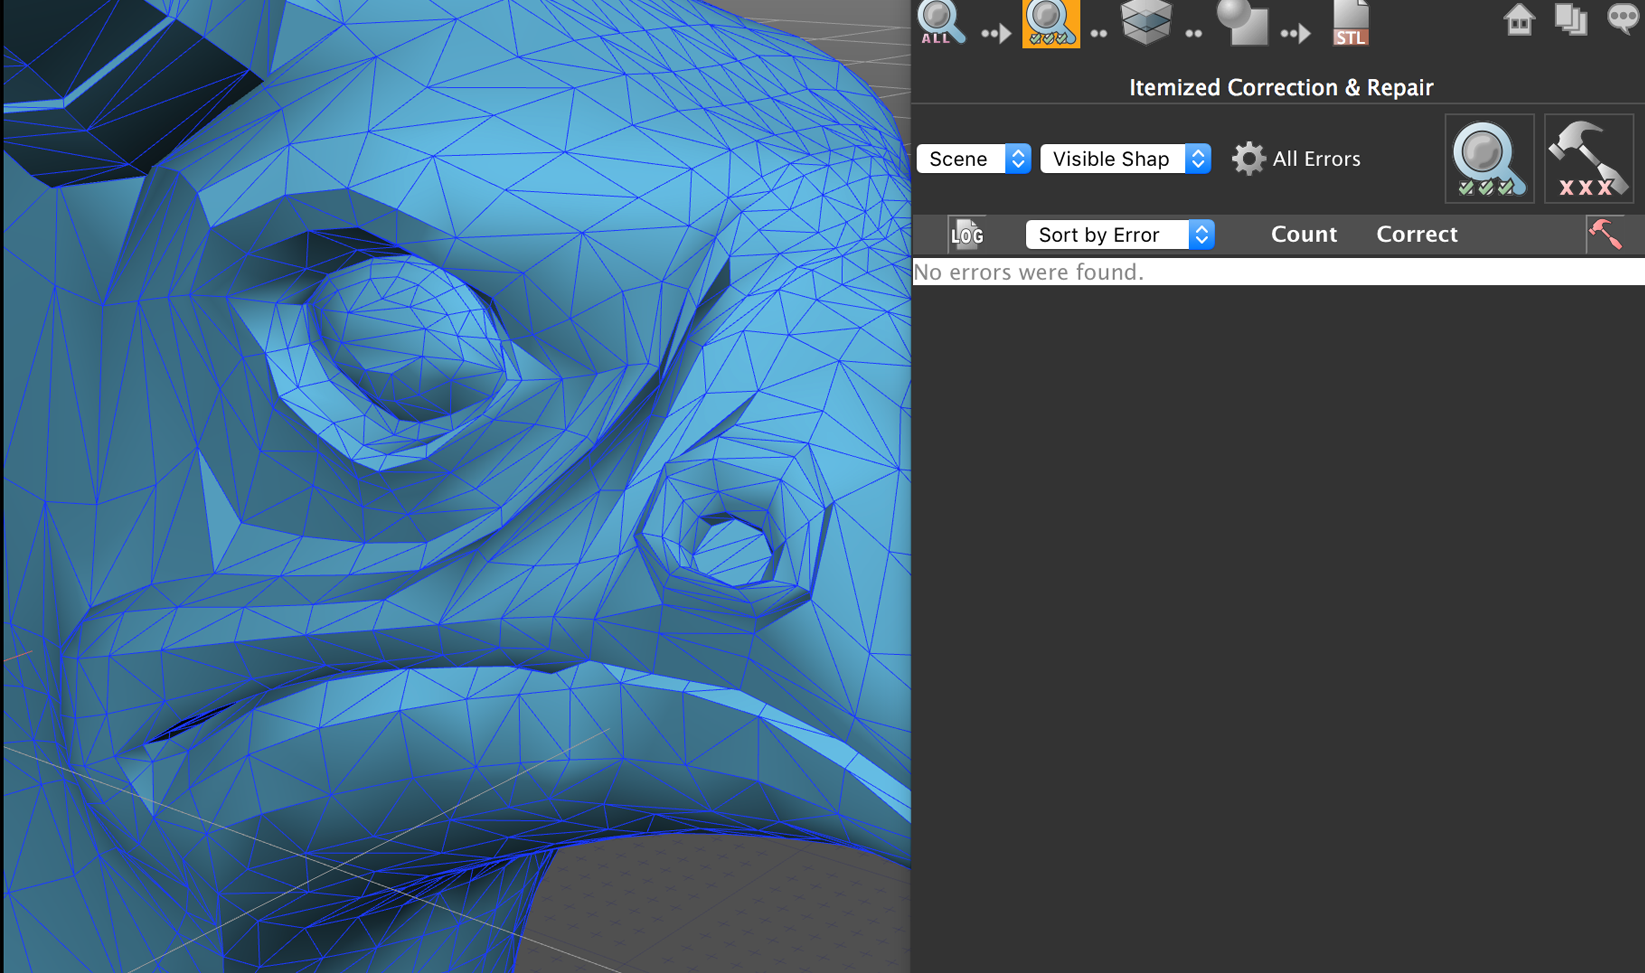
In this example, few problems are being detected by the 3D Printing Assistant: Border Edges and Non-Planar Faces.
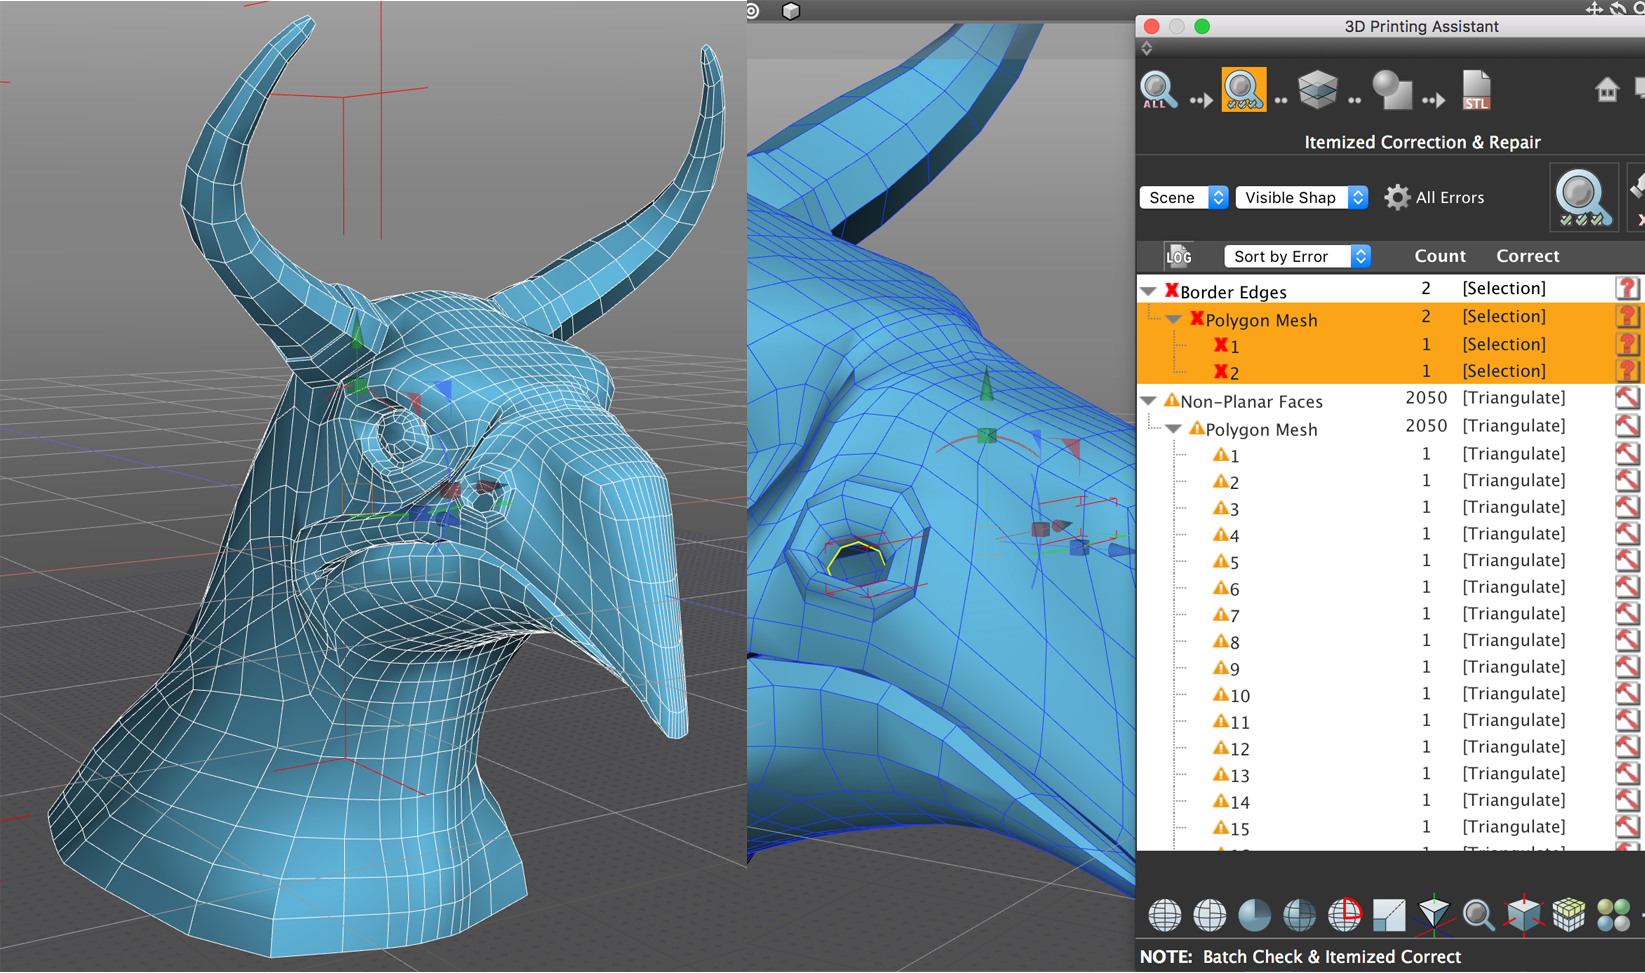
Here, we will choose the Fill Hole correction process.
Non-Planar Faces:
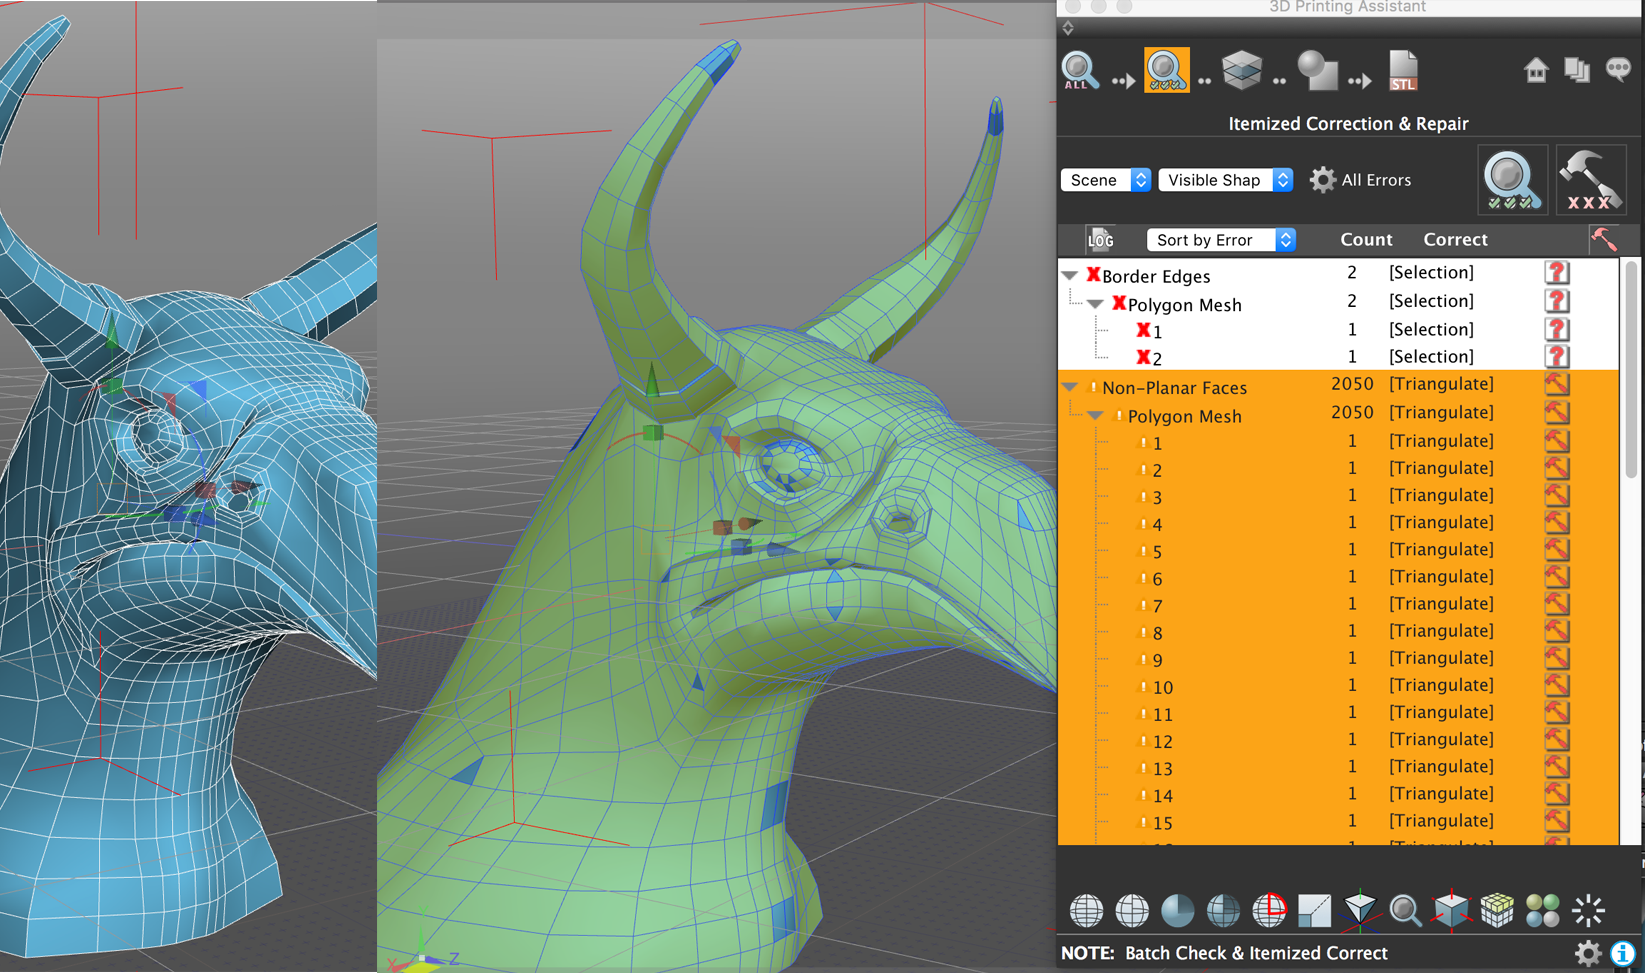
For the non planar faces, we will stick to the auto correct default which is the Triangulate option.
All right! Seems the correction went well!
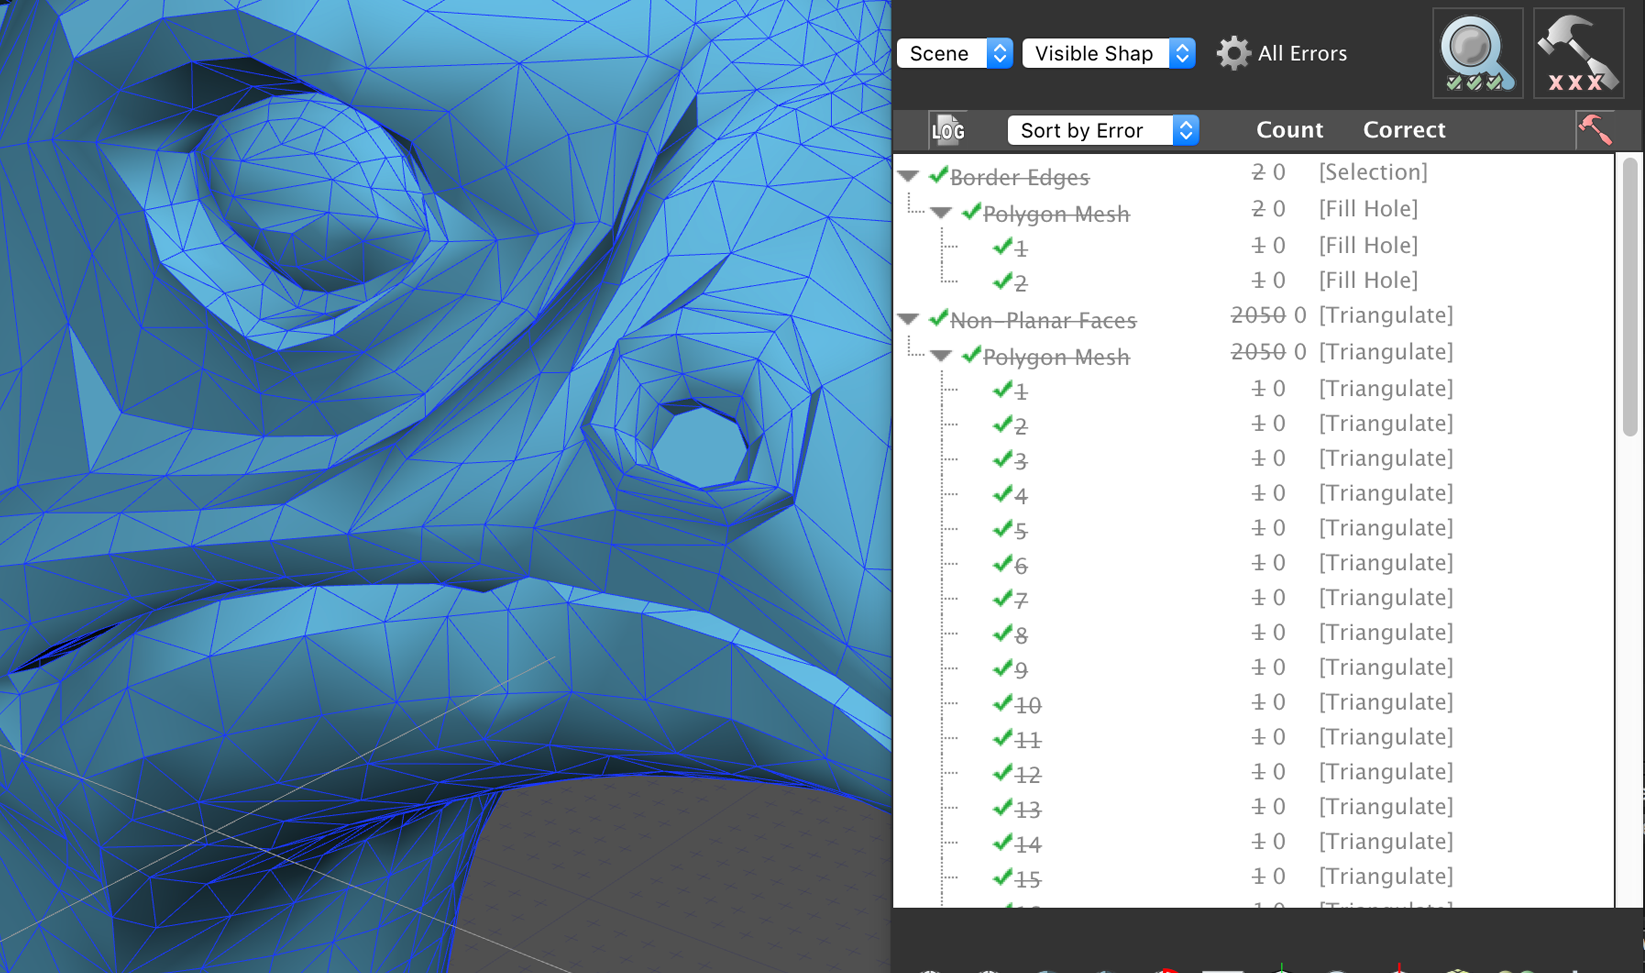
Just double check and see that no more errors were found! Good to be 3D Printed!