| << Back to Prepare you Model page |
I wanted to create an original key ring, and I love music, so why not create a "Headphone-Key ring"?
OK, lets do it!
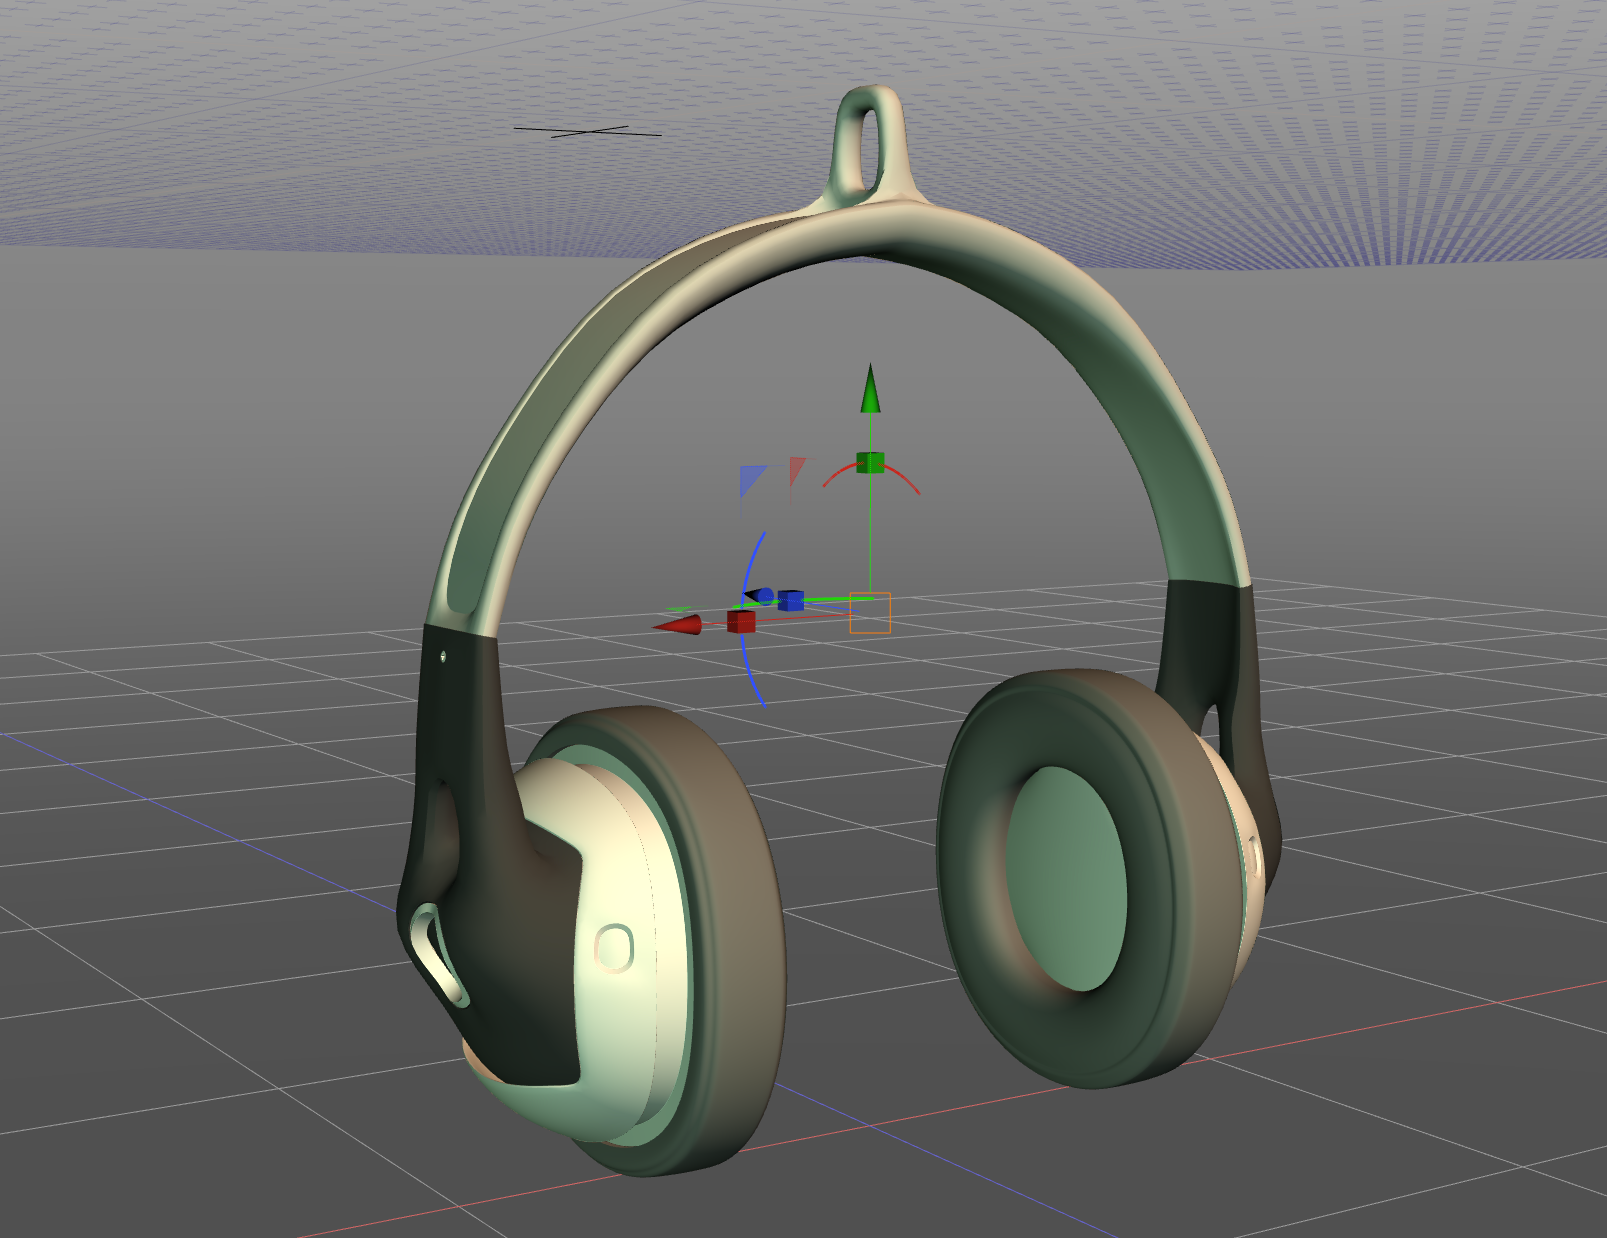
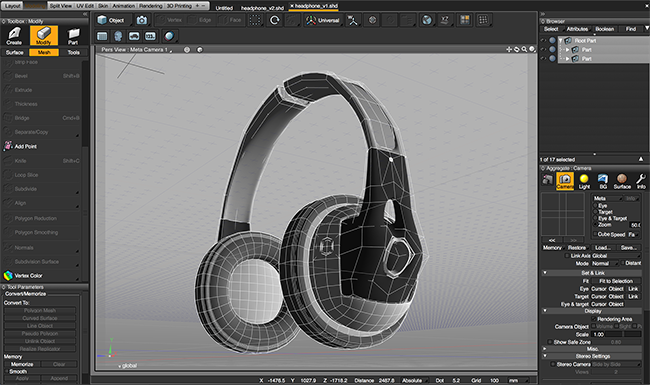
I already got my model in mind, so it took me about 5 hours to finalize it in Shade 3D ver.15.2.0. In the screenshot below, here is the version I decided to print:
I've also worked on another one with more details but this one is for other purposes...
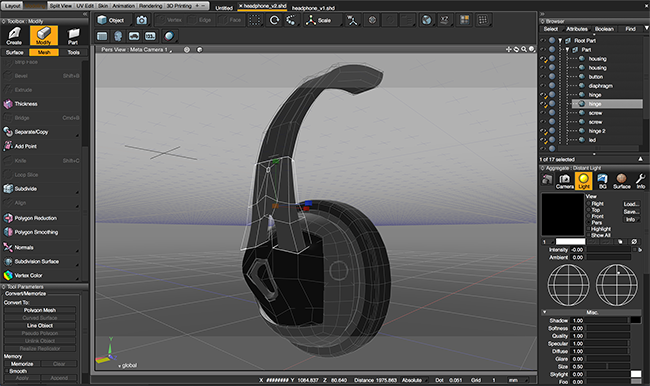
The thing is that now that I want to 3D print it, I need to duplicate the hinge and "stitch" the new parts back together.
But before doing that, I need to delete the faces in the center, you don't want any inner faces hidden in the mesh before printing.
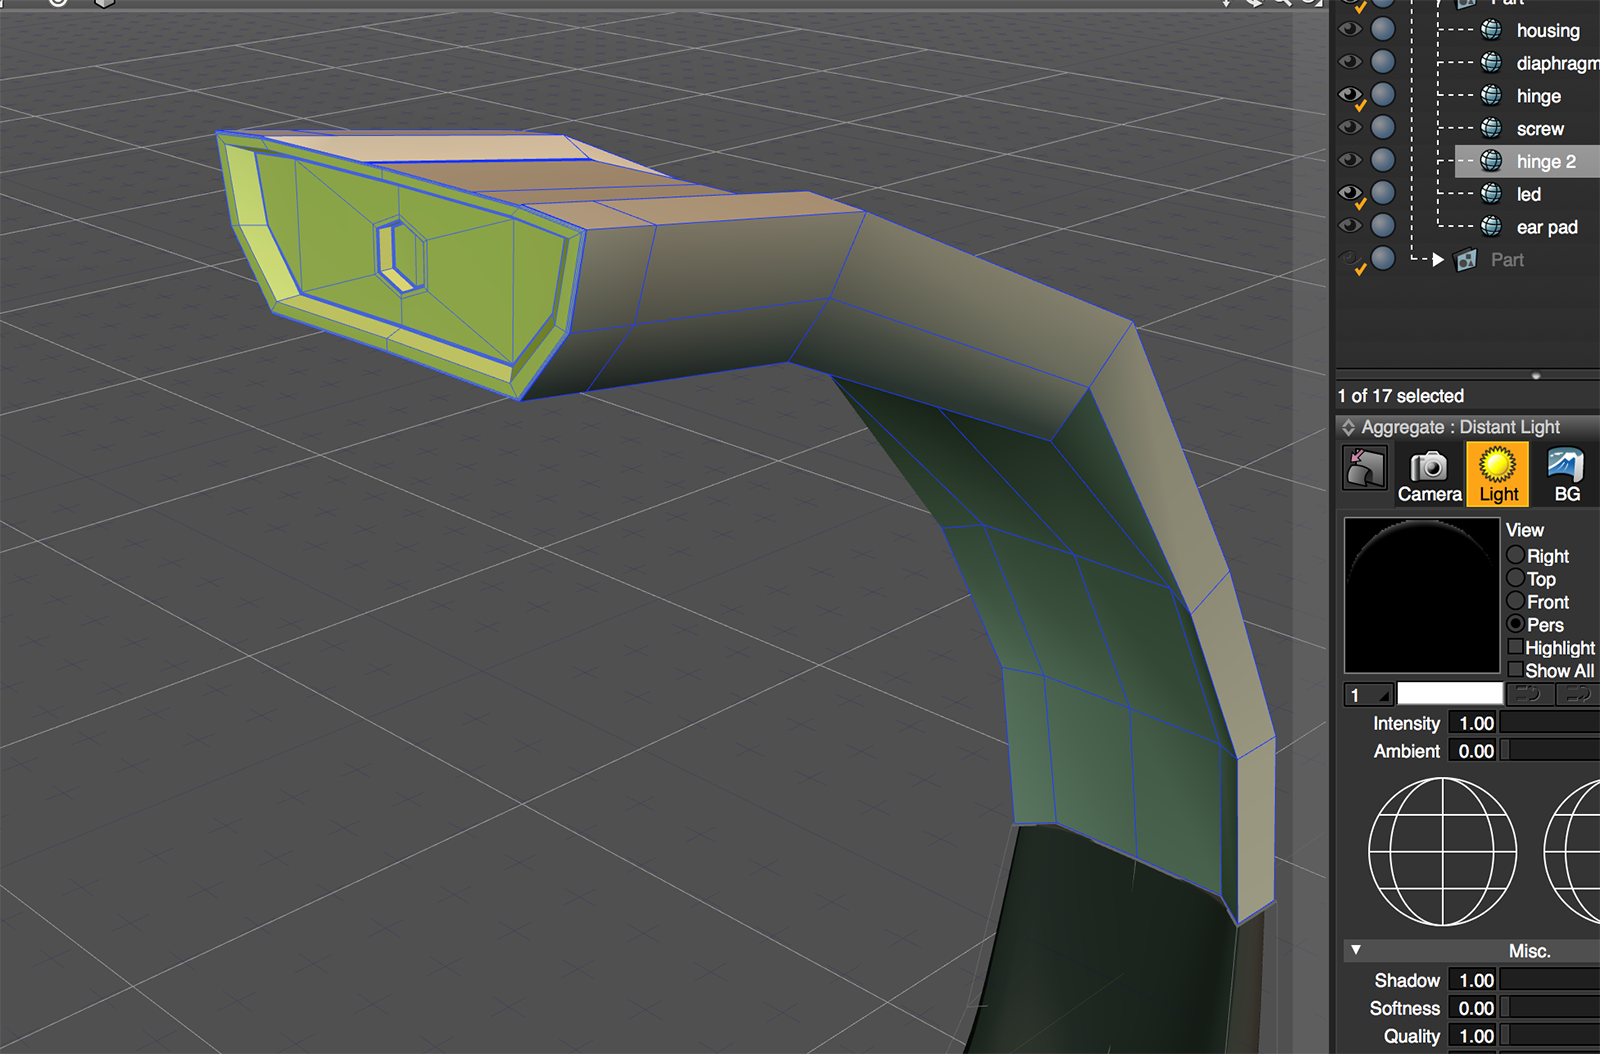 |
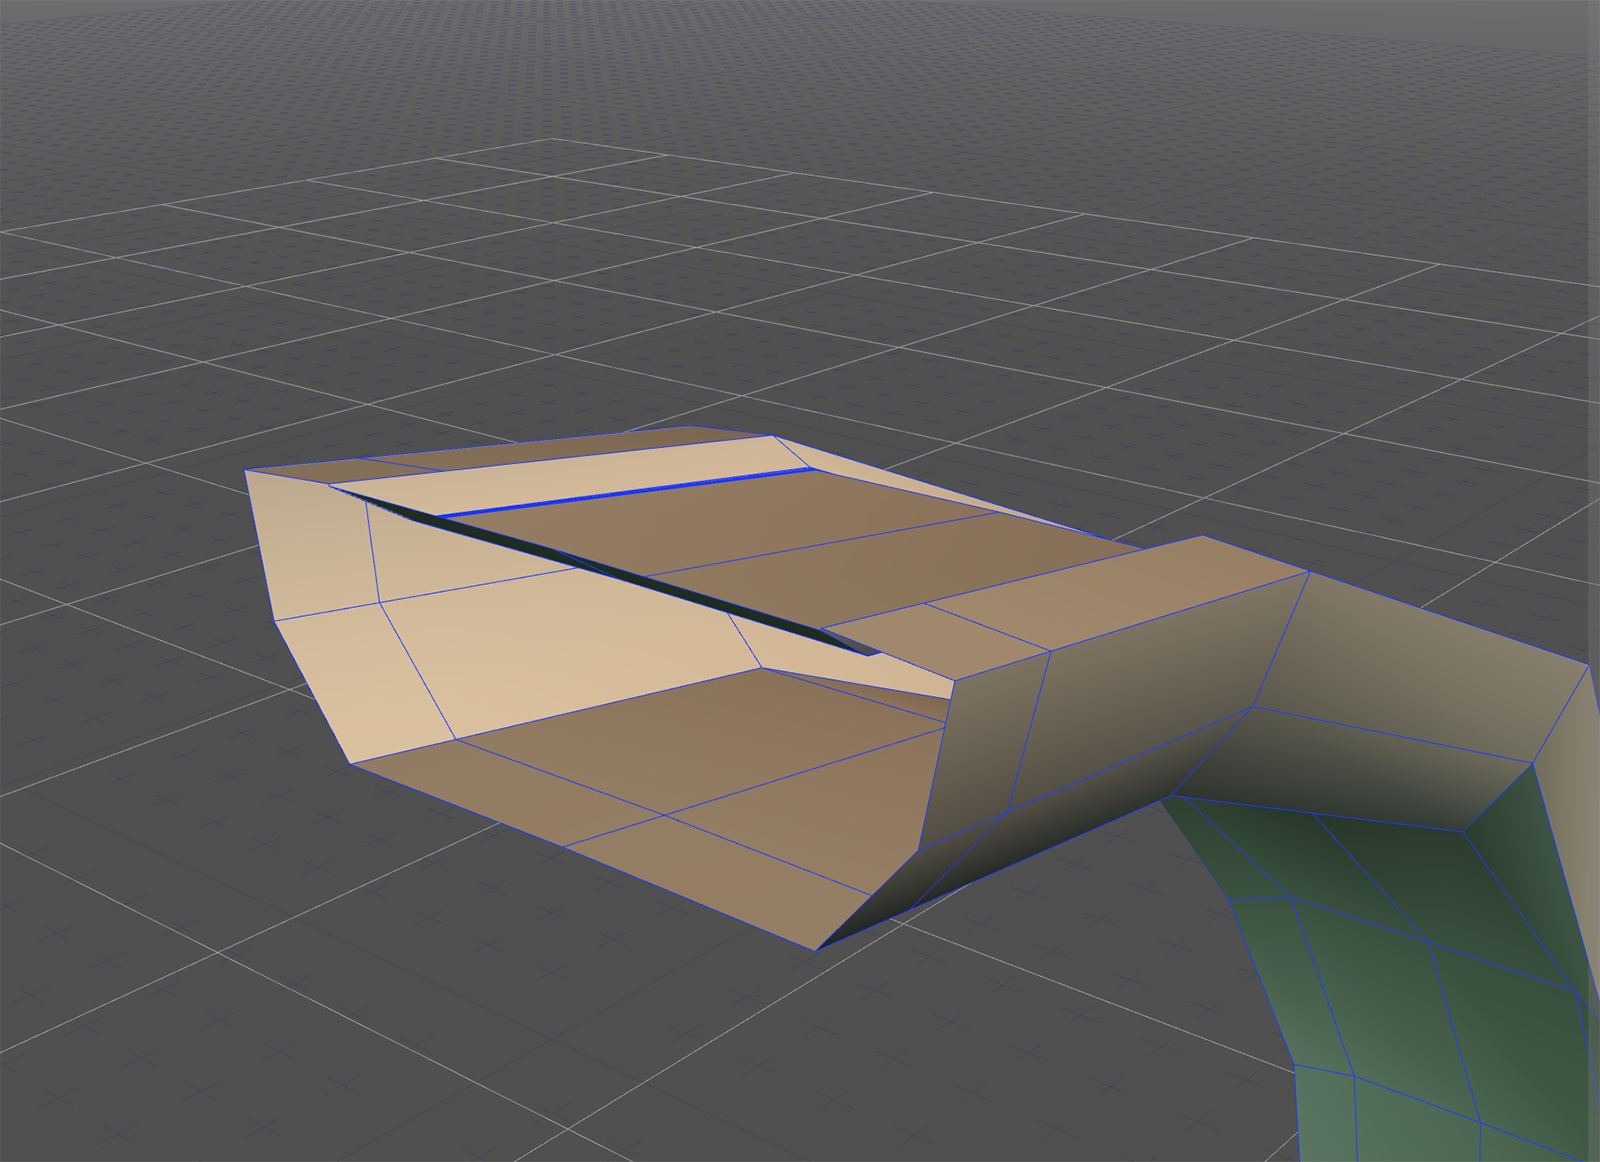 |
Once done, I duplicate my hinge on the central axis.
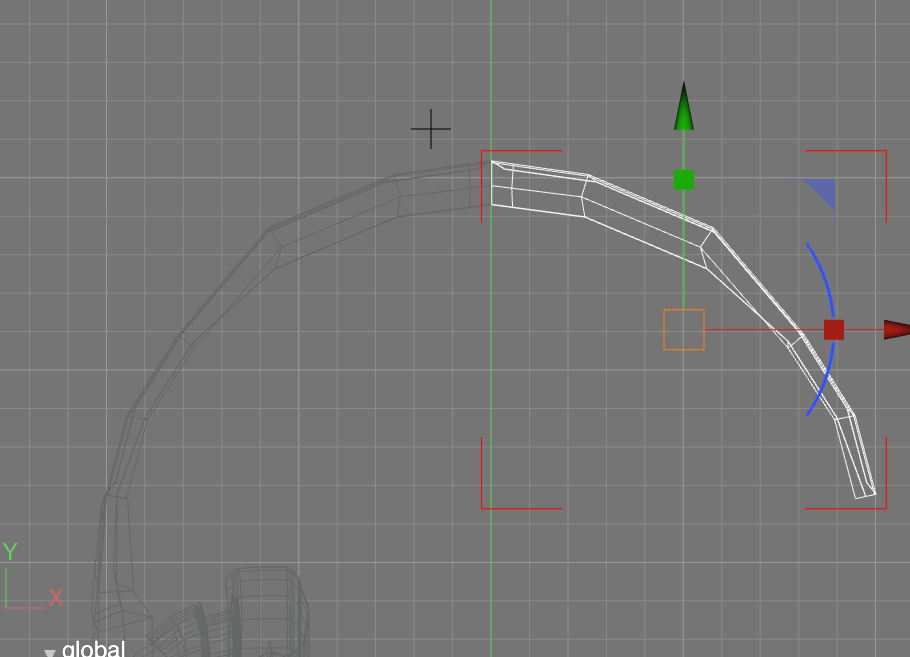
Then, in order to "stitch" the parts together, I will need to select and merge the vertices:
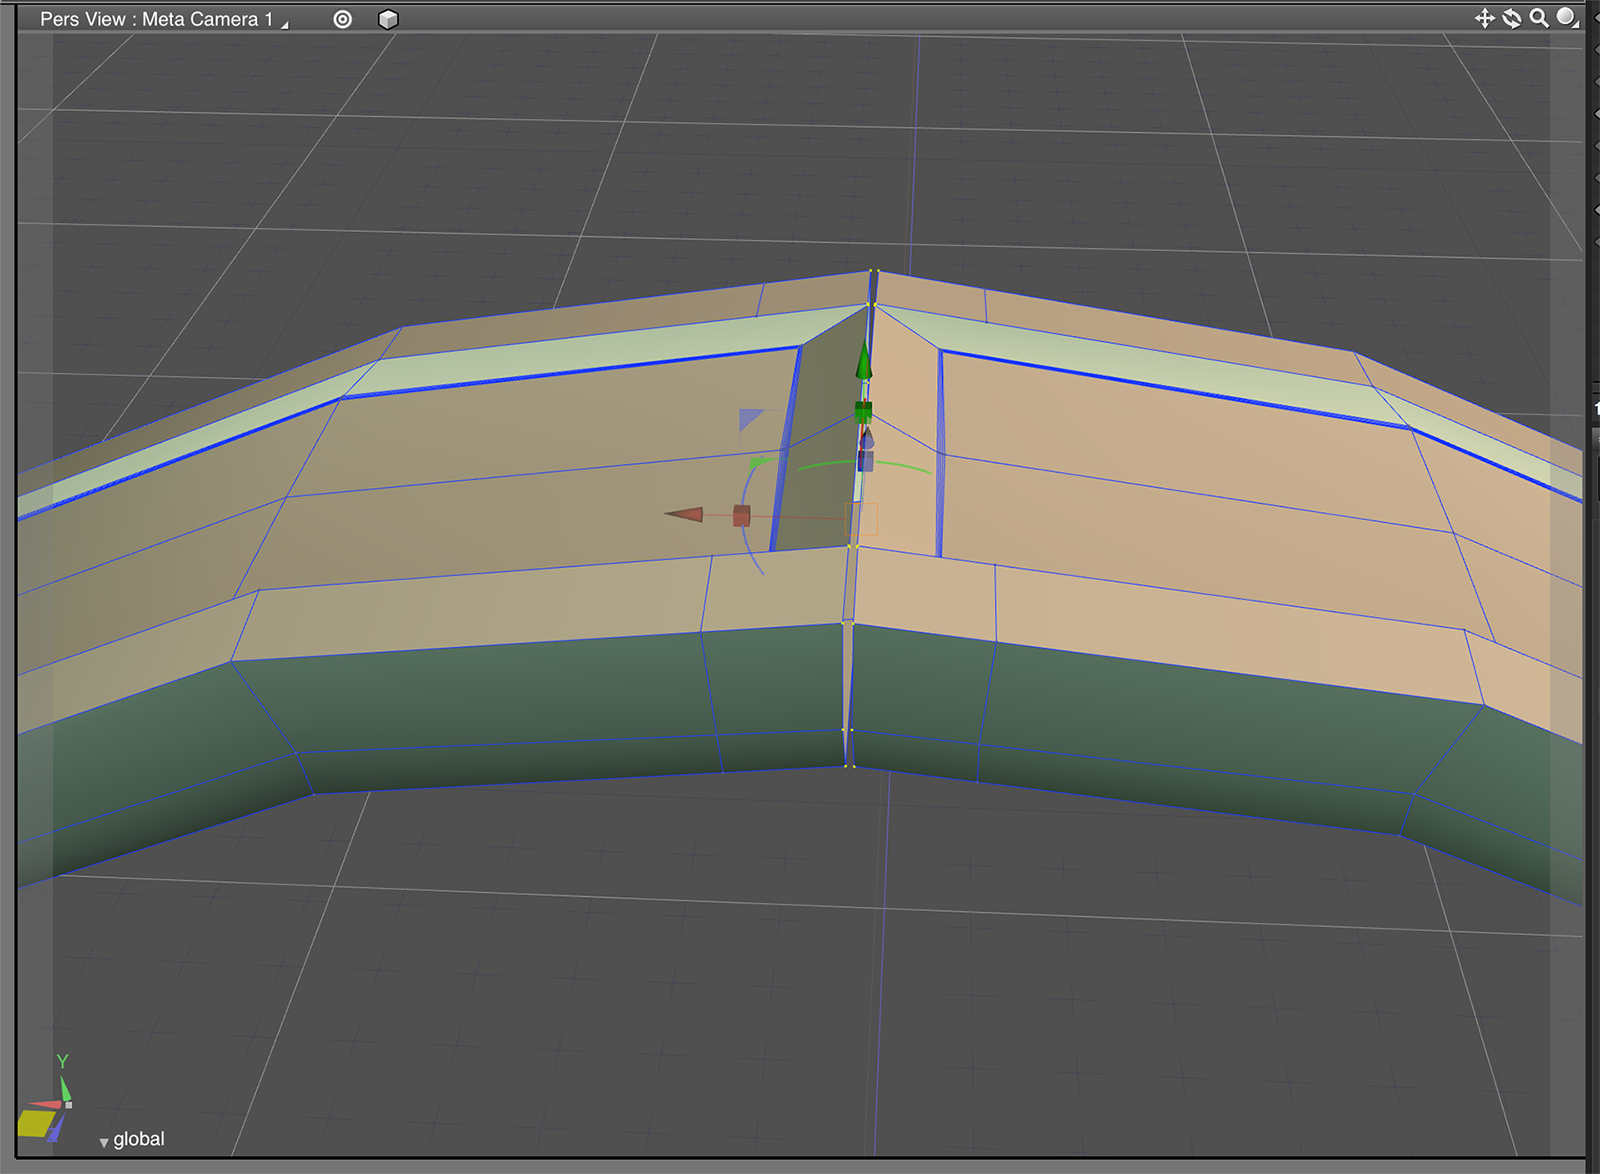 |
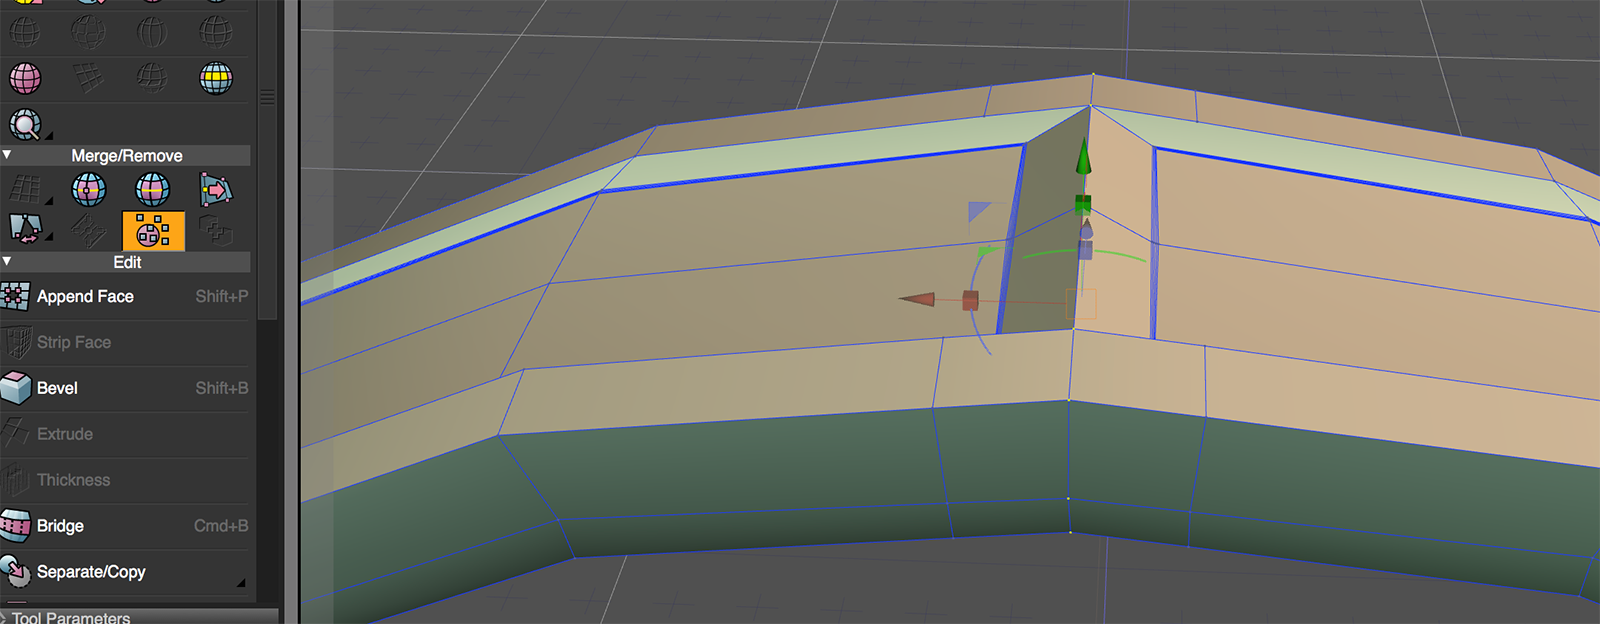 |
I will also need to attach a ring to the model, so I will bevel few faces and create a hole in them:
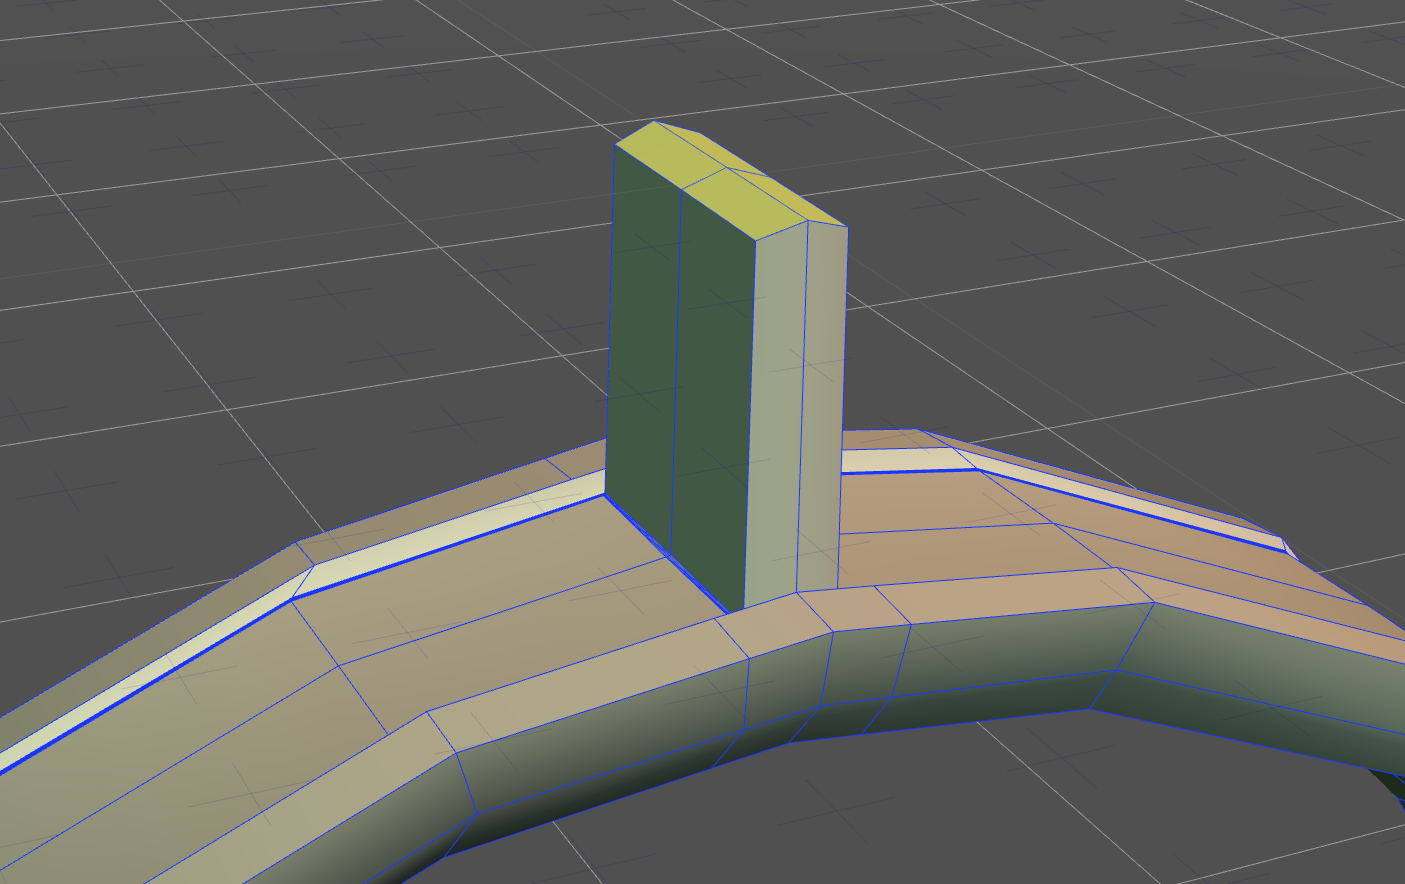 |
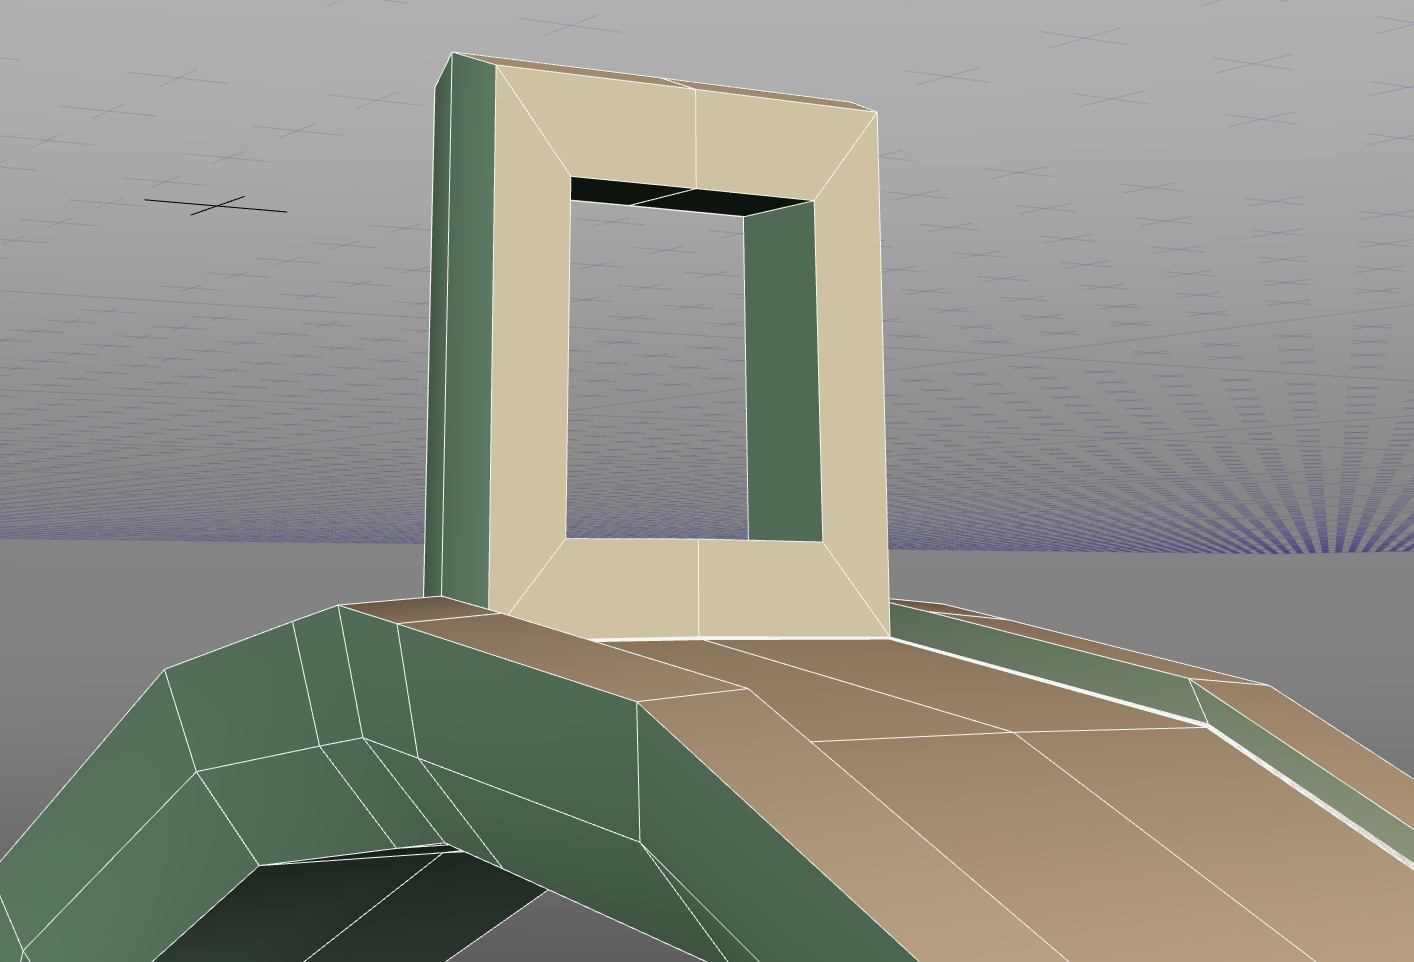 |
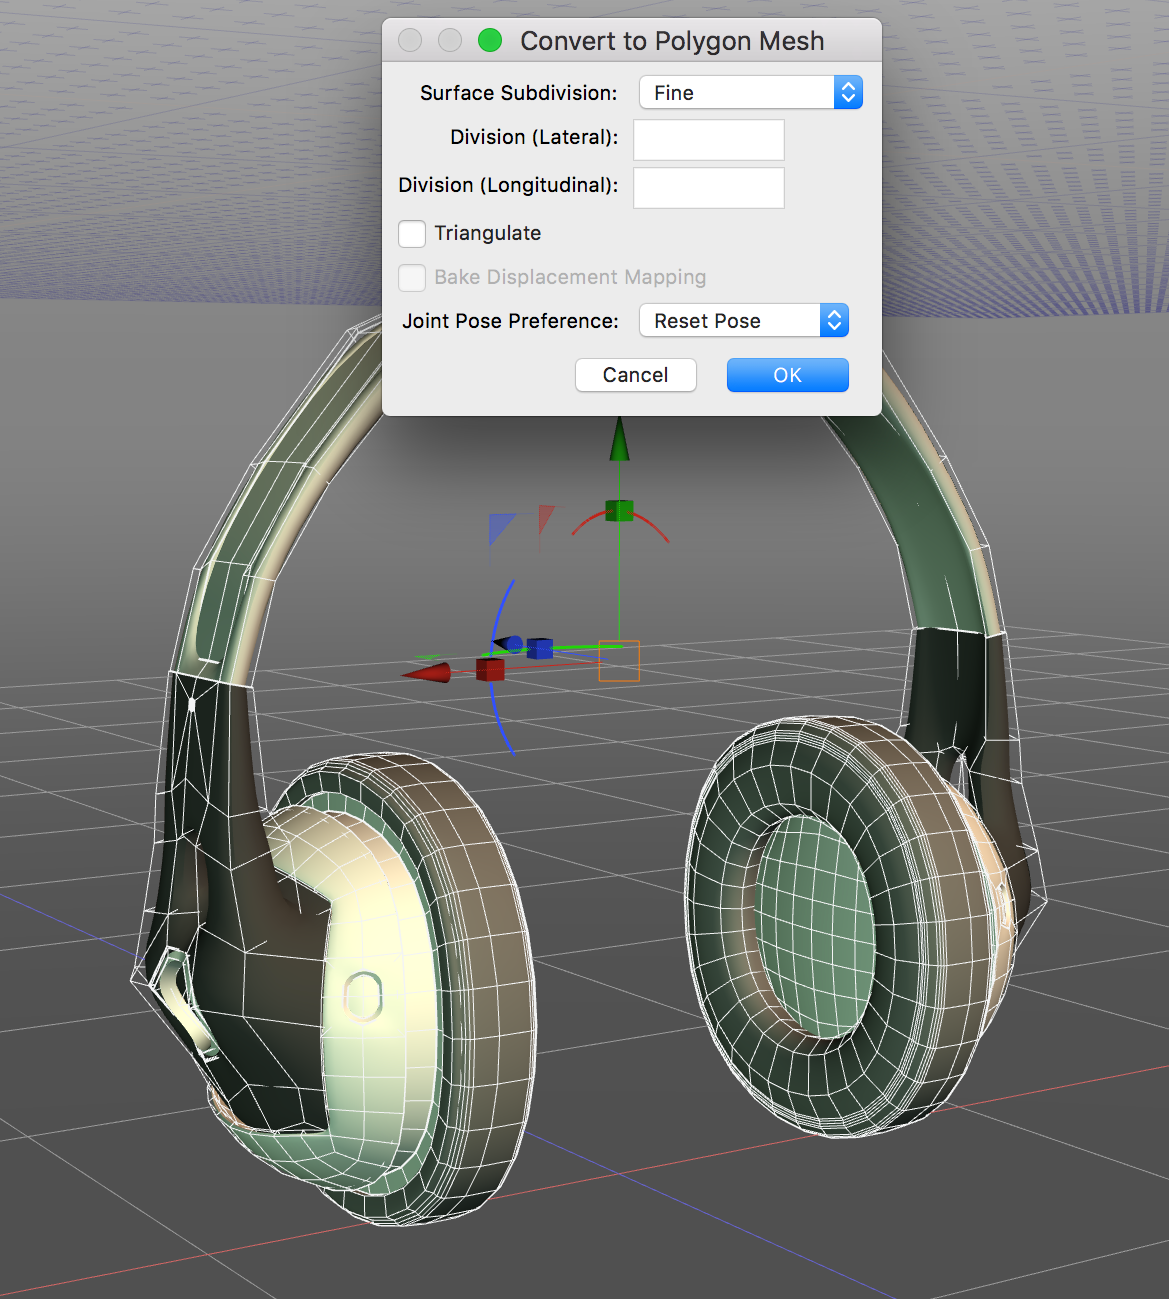
Then, few more steps: I need to merge all my objects together, re-apply the OpenSubdiv and convert the result to a polygon mesh!
|
All objects are merged together and the OpenSubdiv re-applied. |
I convert my object to a polygon mesh. |
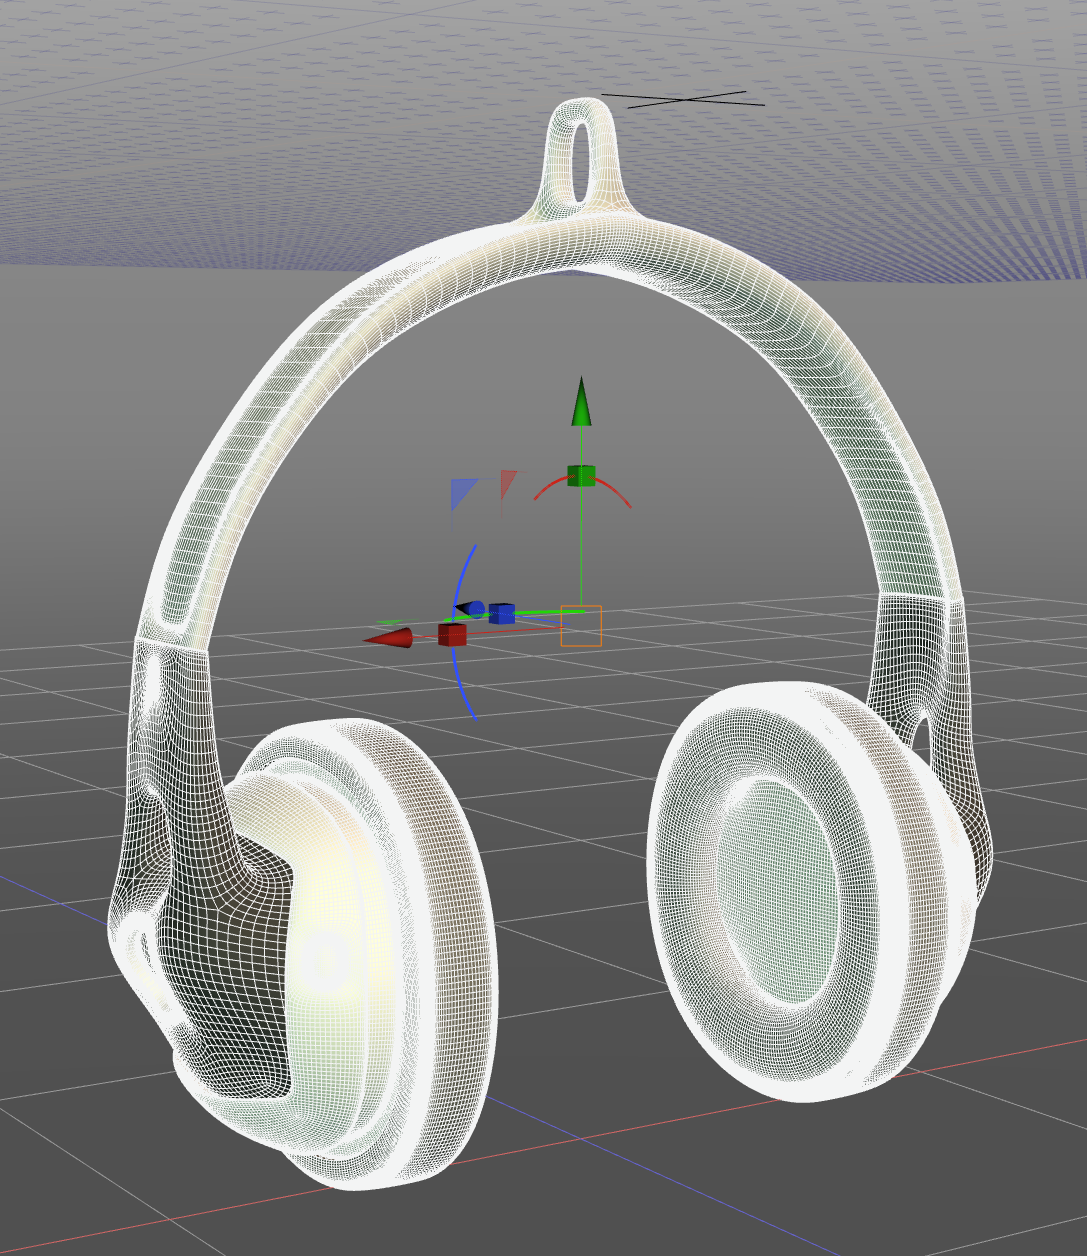
Then I got my mesh! |
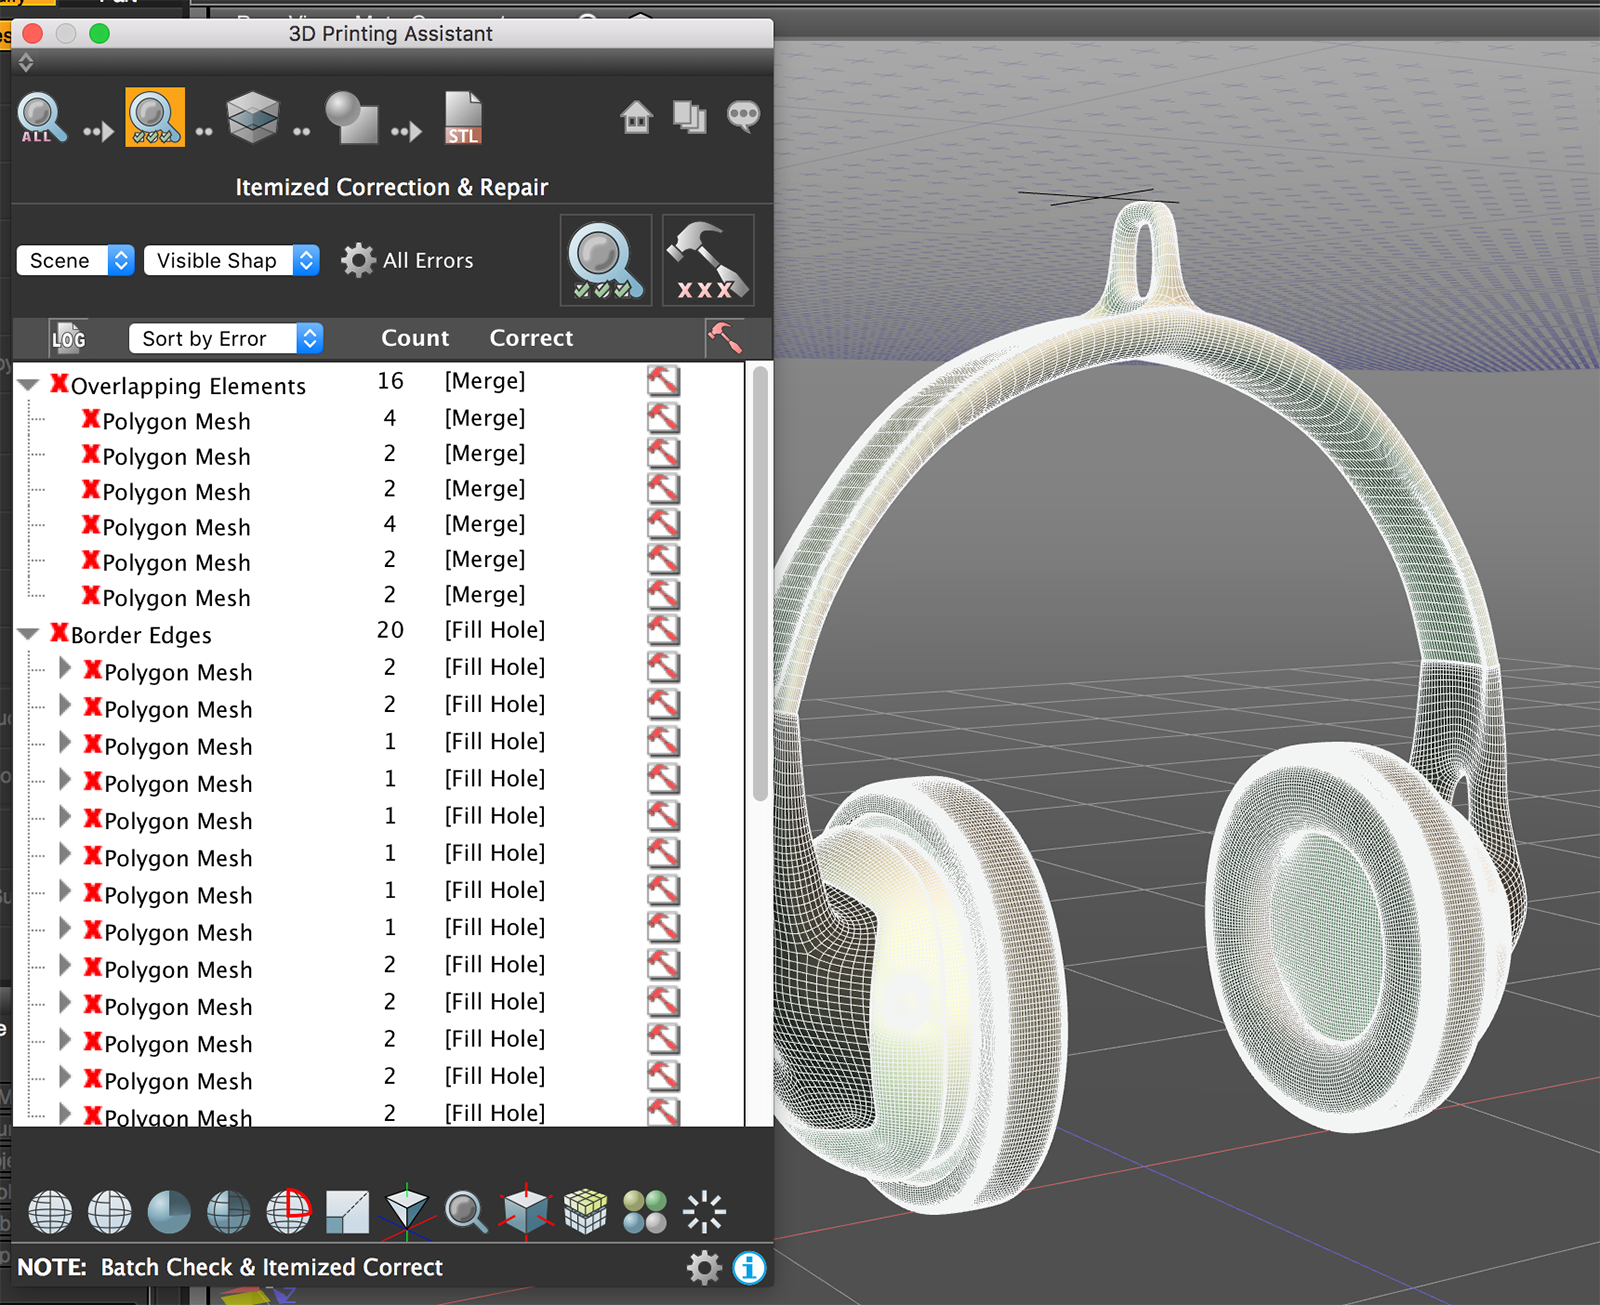
Now, lets use Shade 3D's 3D Printing Assistant !
Simple process: Check, repair, make watertight and export to STL!
|
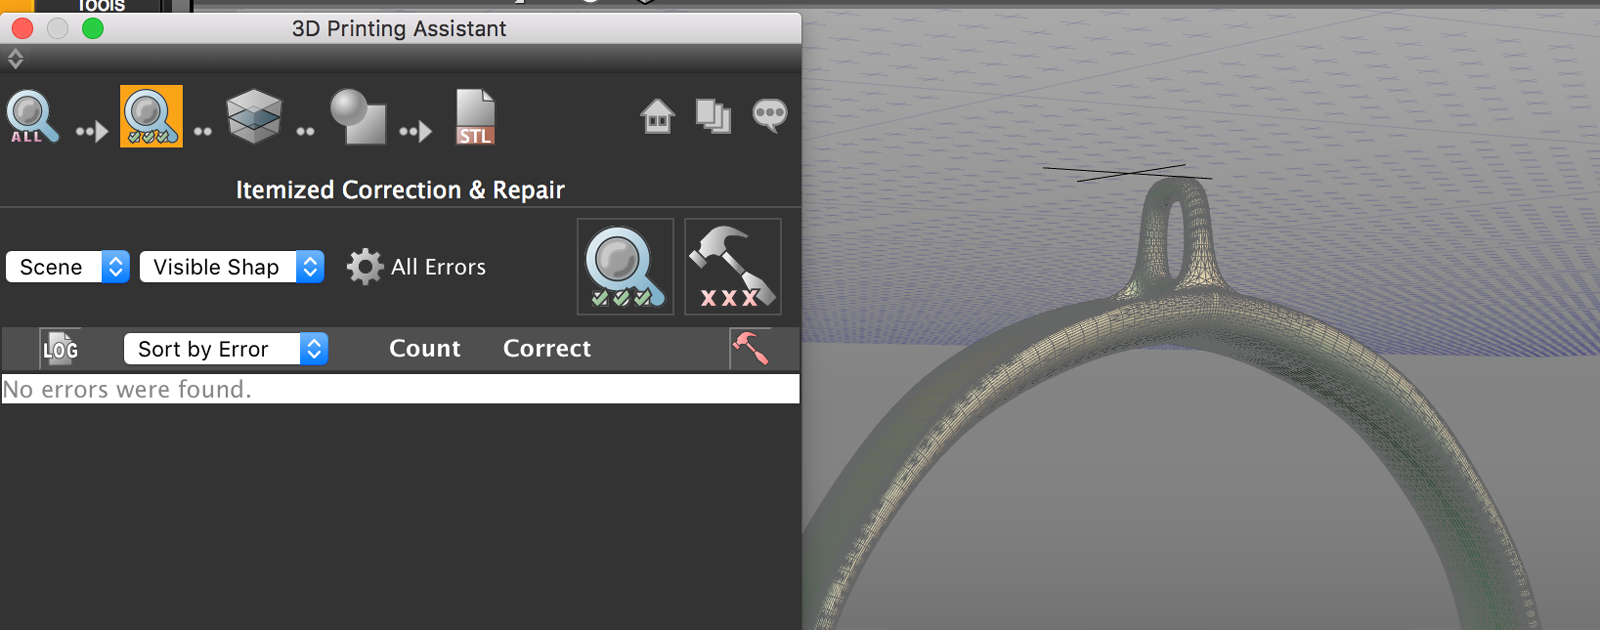
Errors are being detected... |
Errors are corrected... |
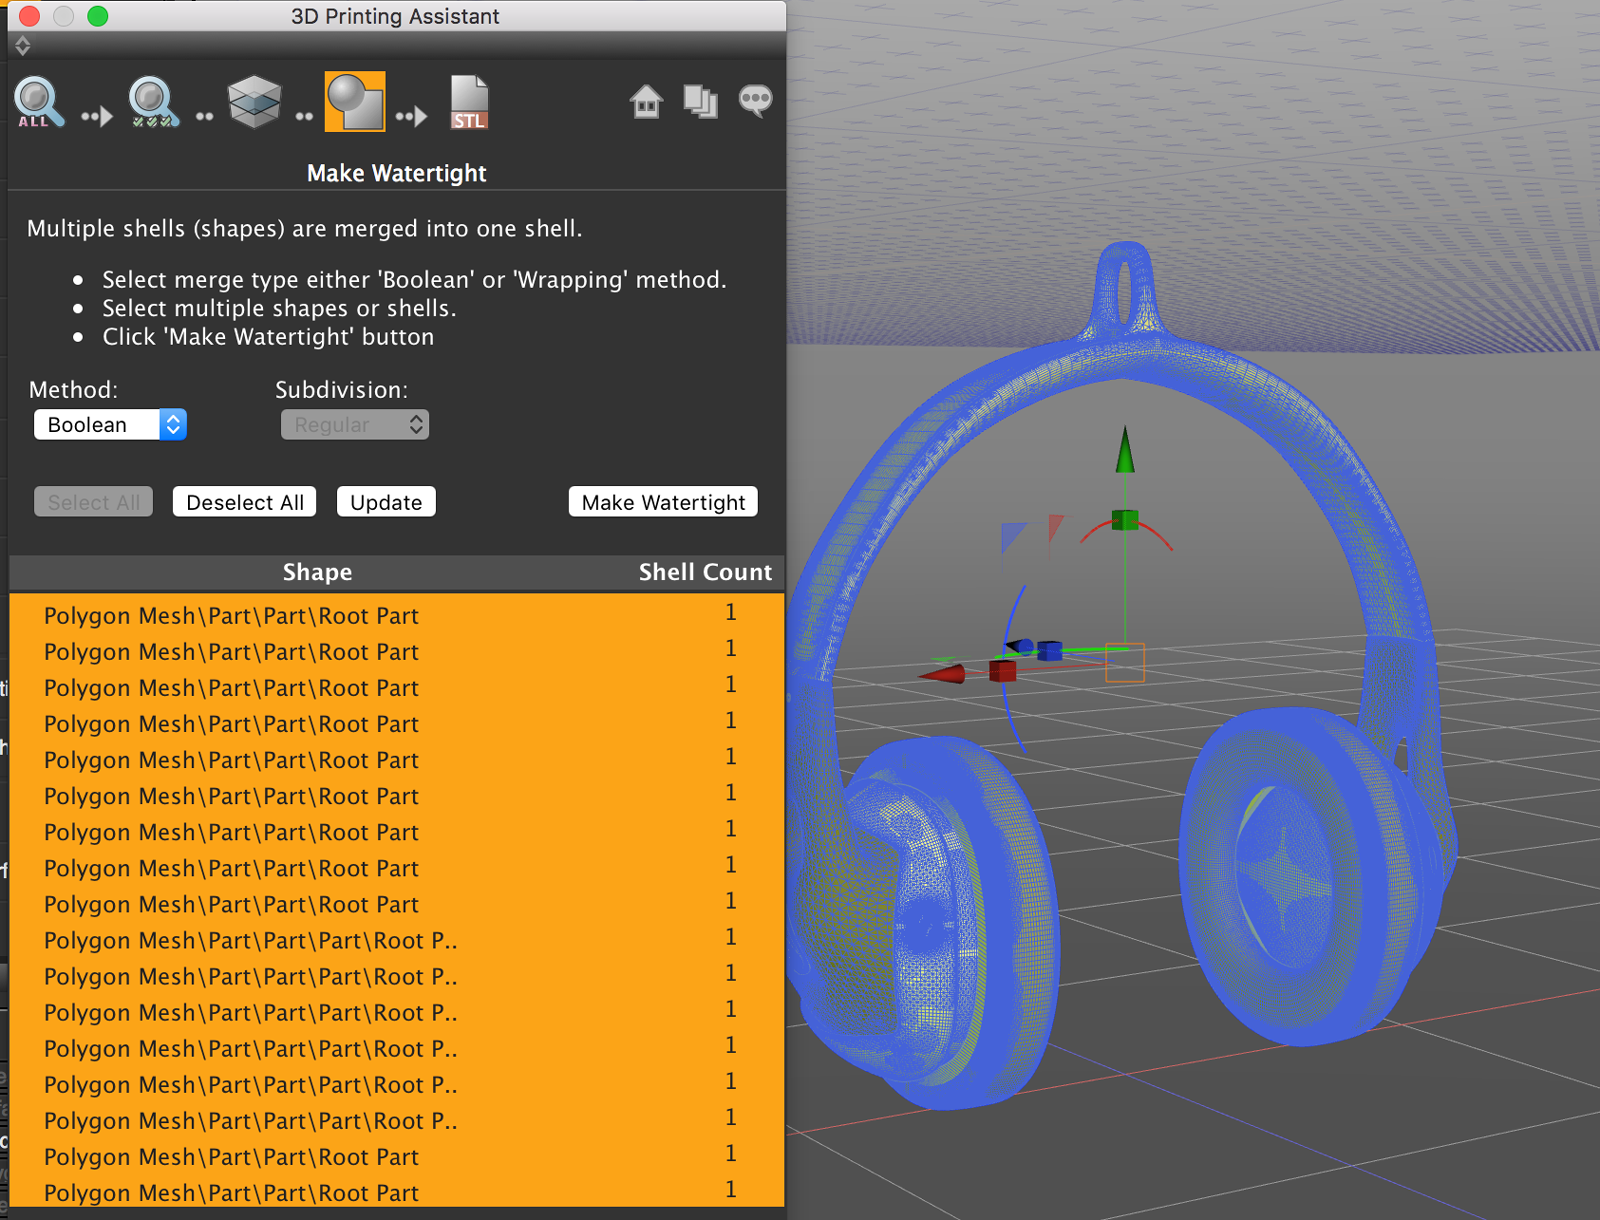
Now, just need to make it watertight and export it to an STL file! |
Lets just send our STL file to a slicer and get it ready to be 3D printed (resize it the way you want)!
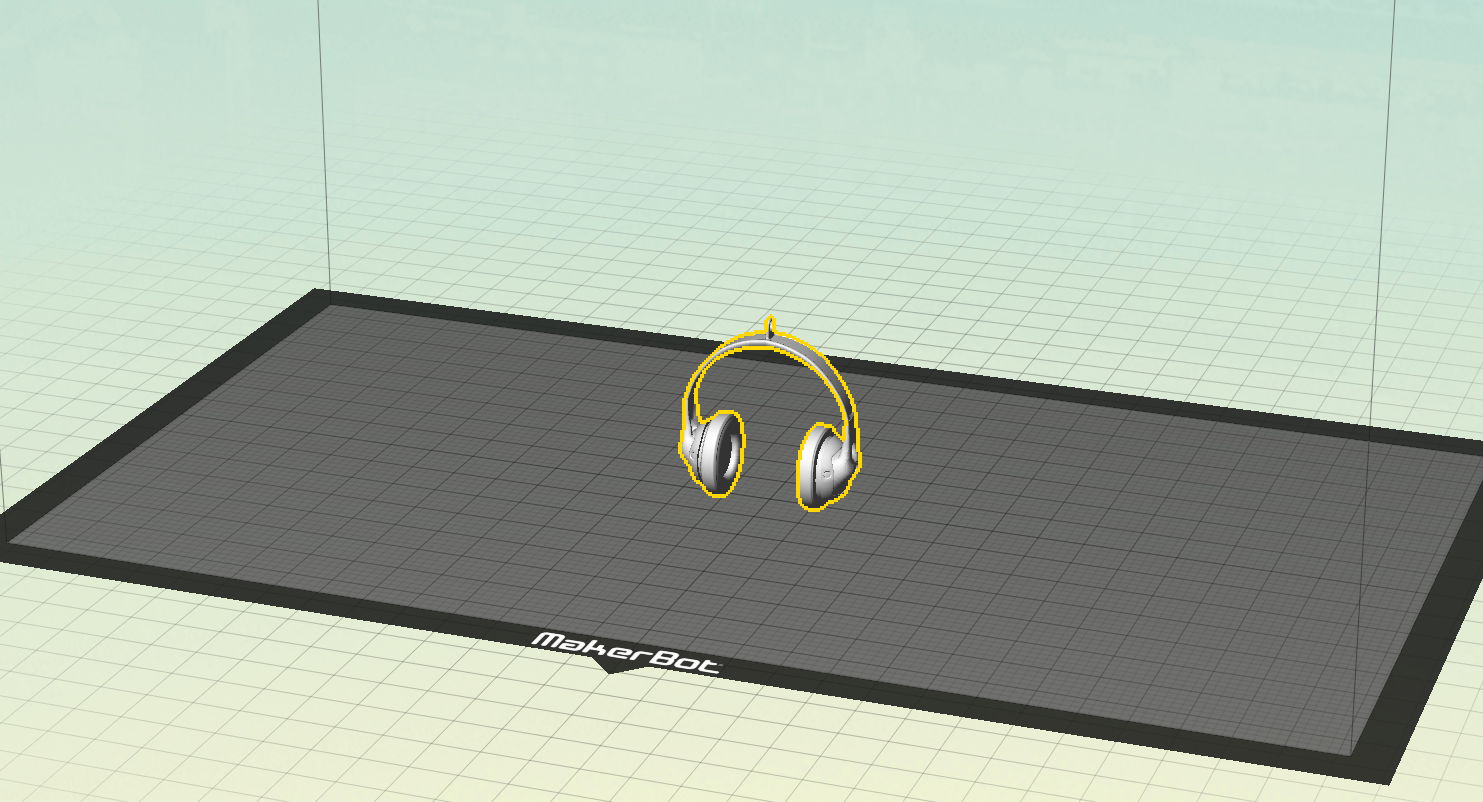
The only thing we need now, is patience...
.jpg) |
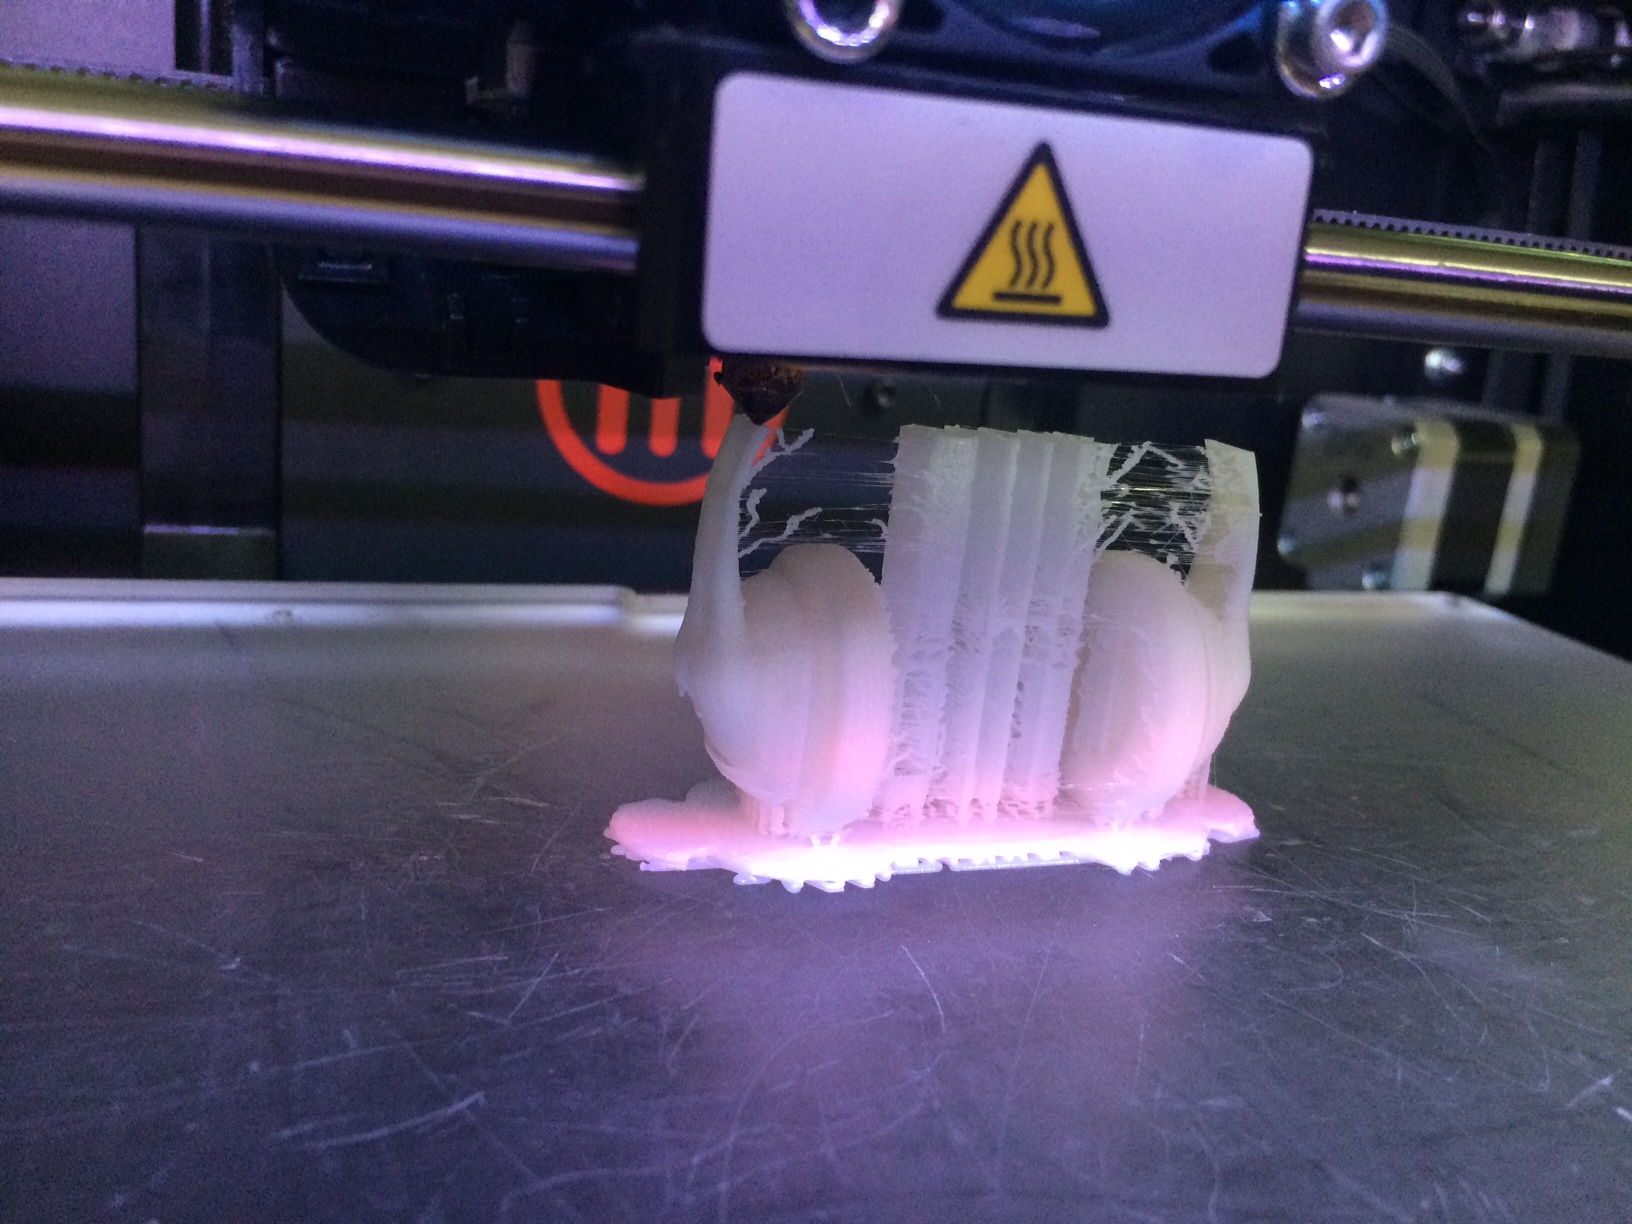 |
You think you are done? No, that would be too easy, you have to take off the supports and raft!
(1).jpg) |
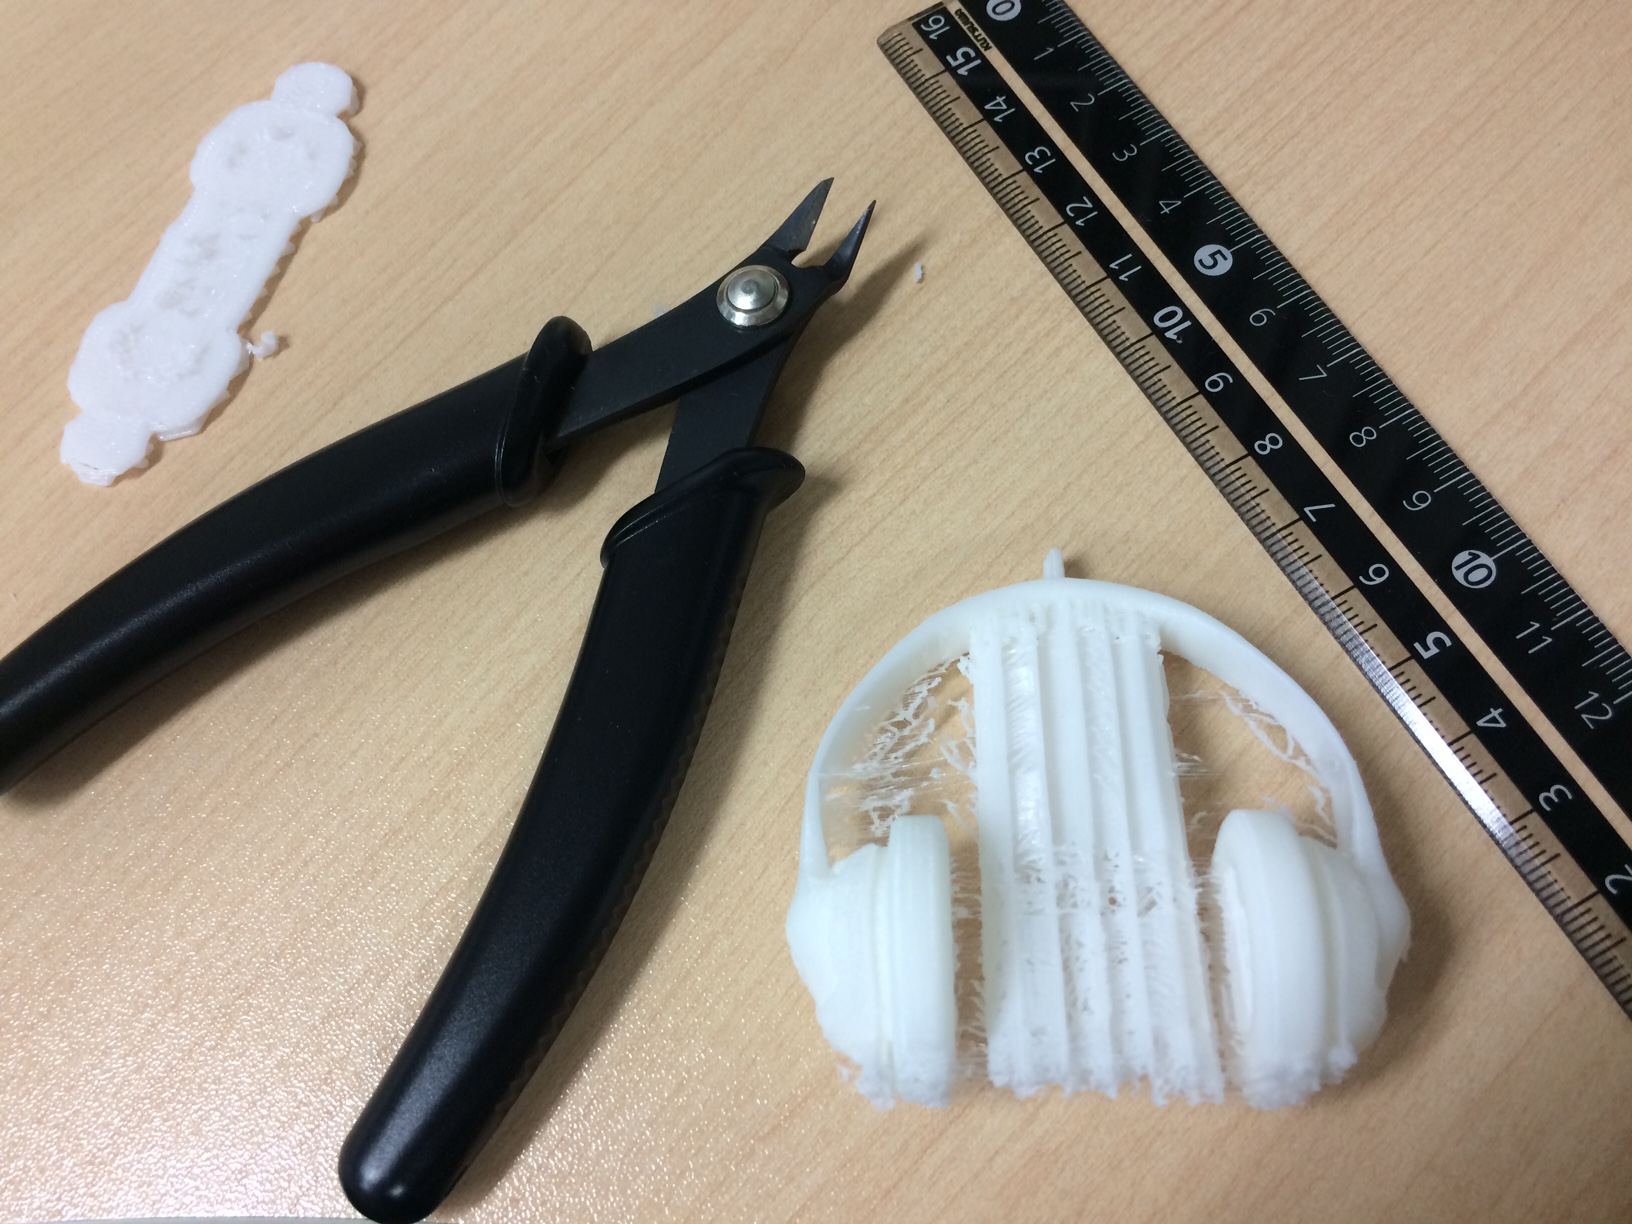 |
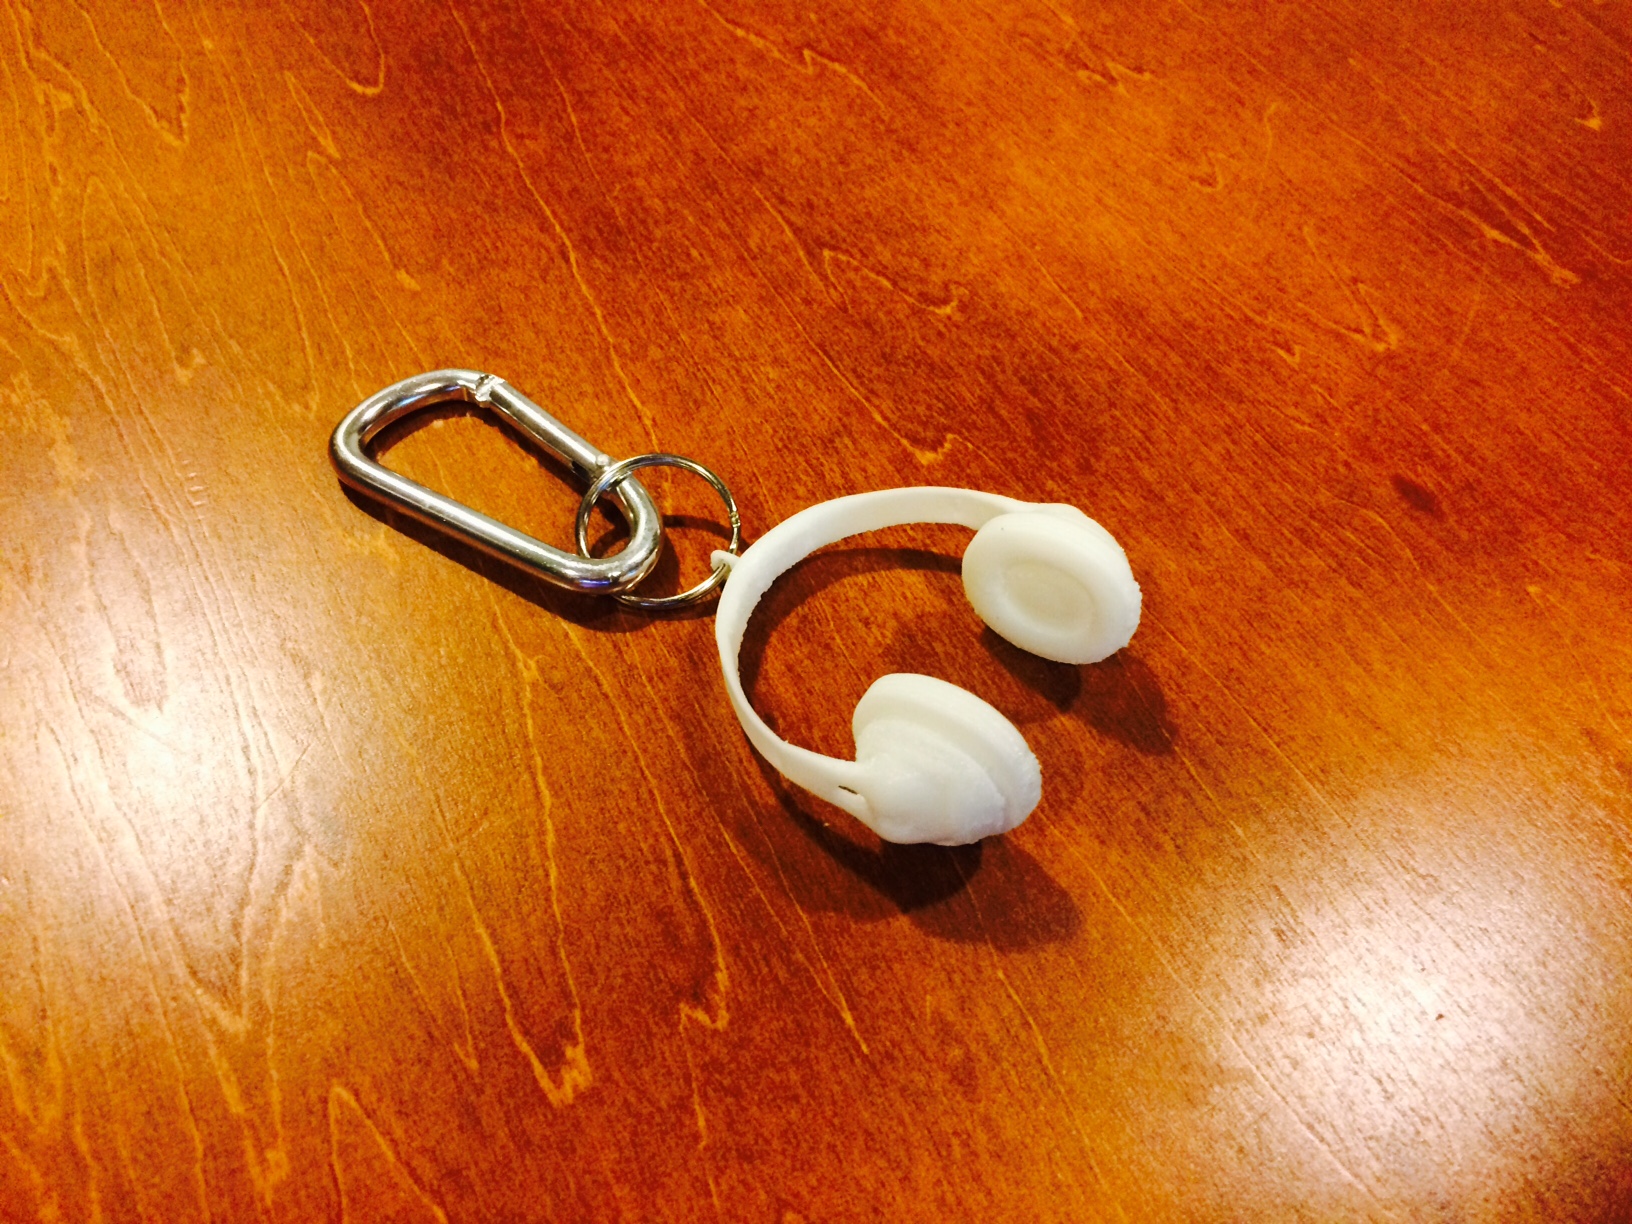
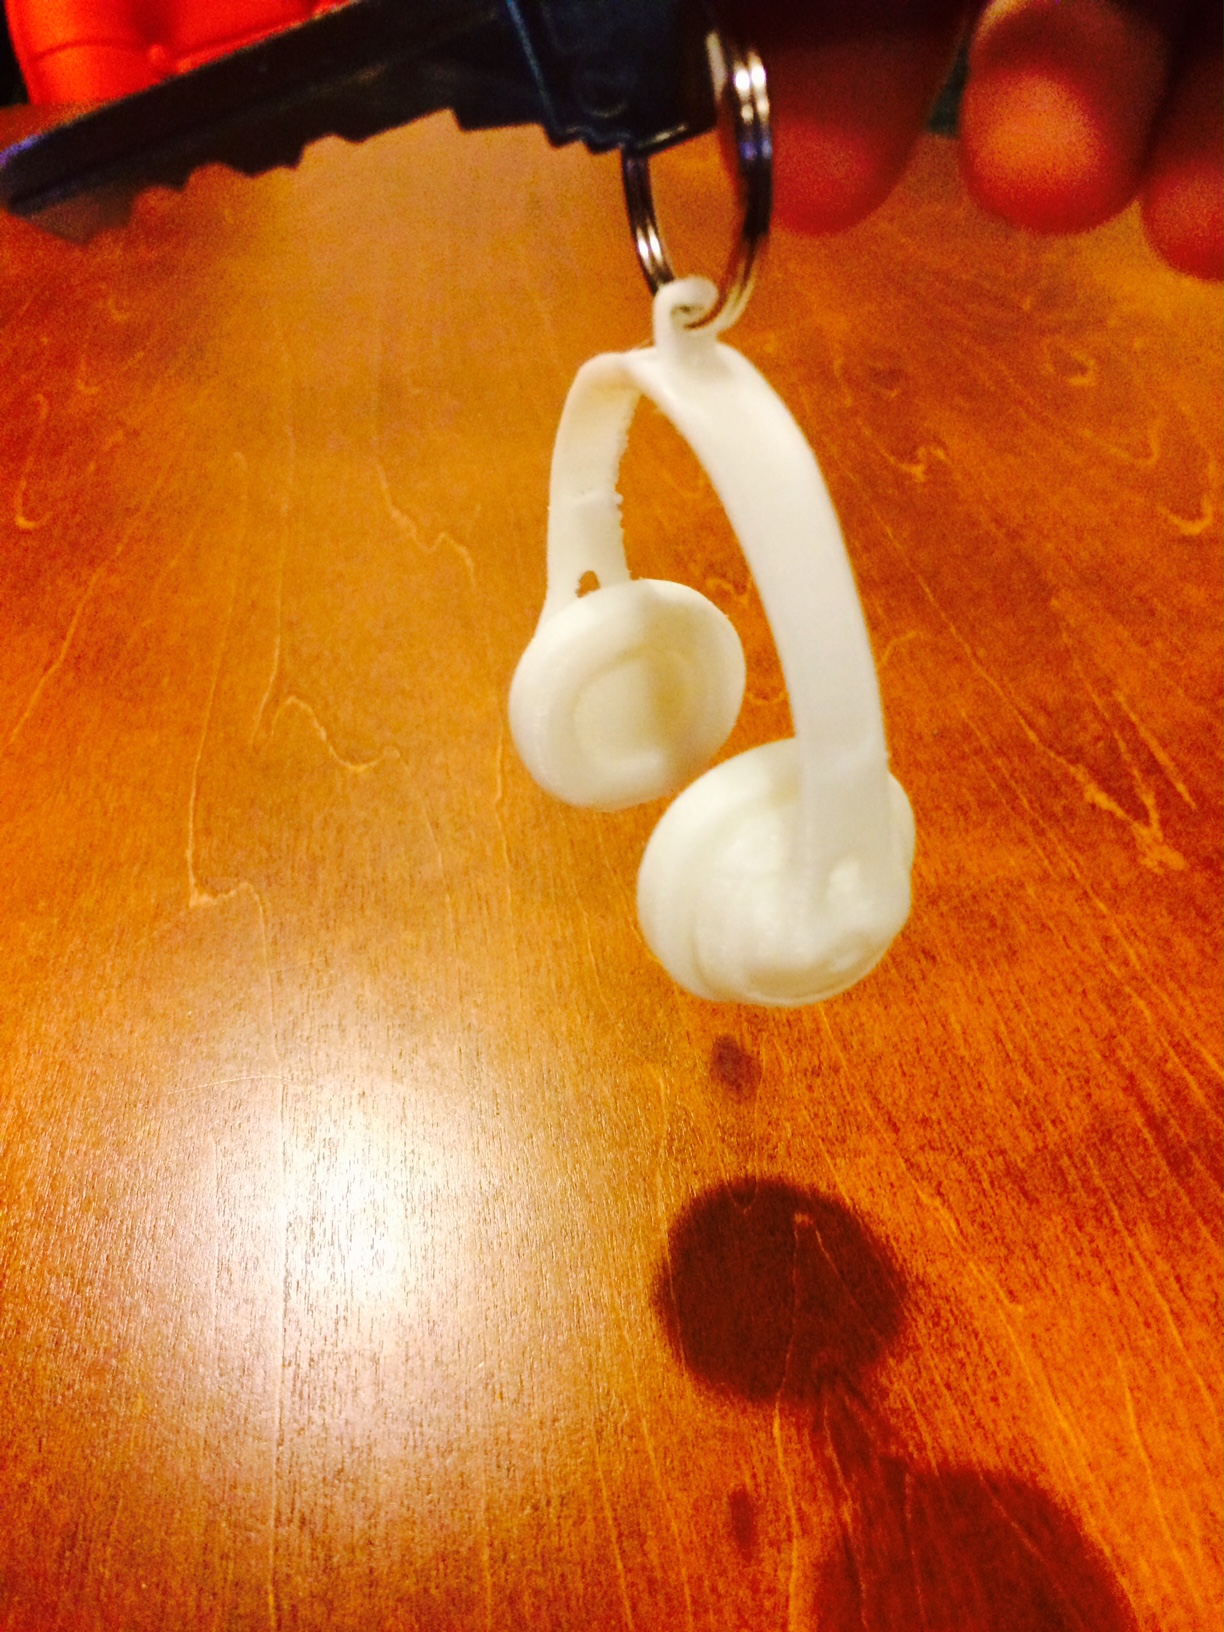
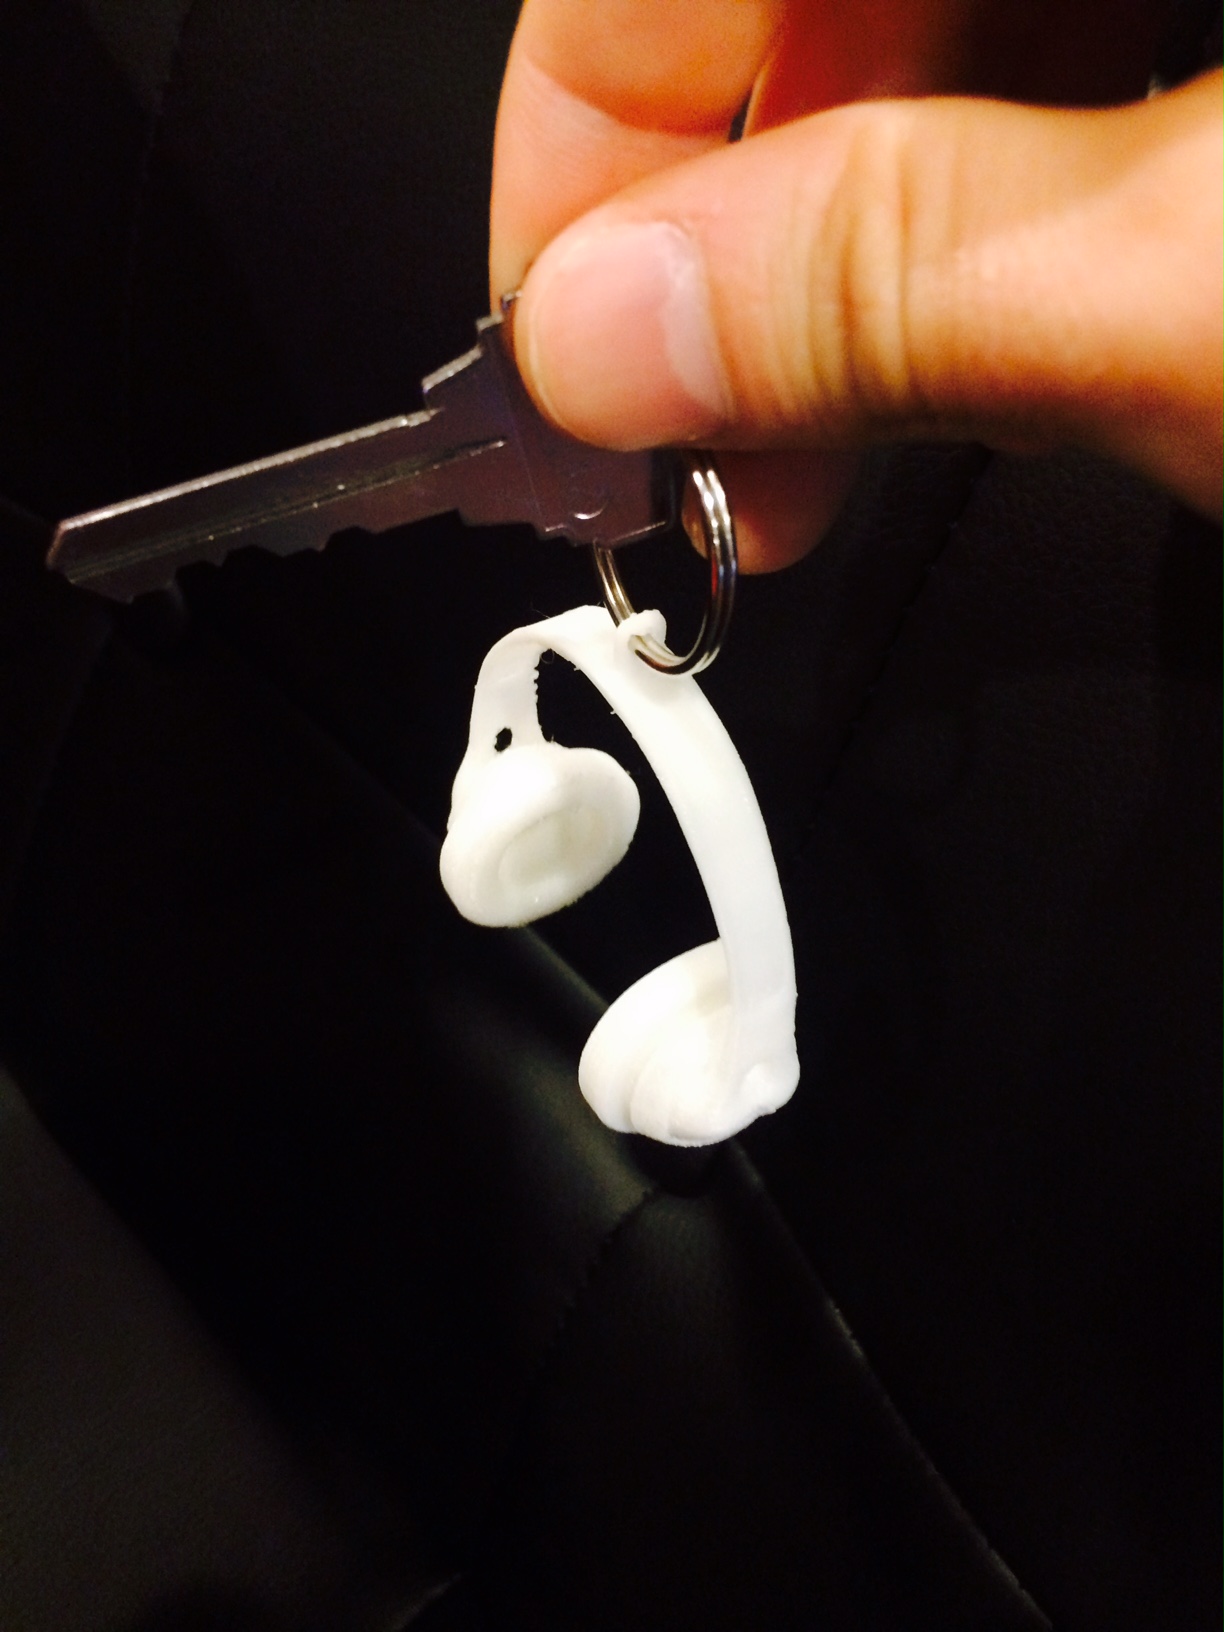
But eventually...
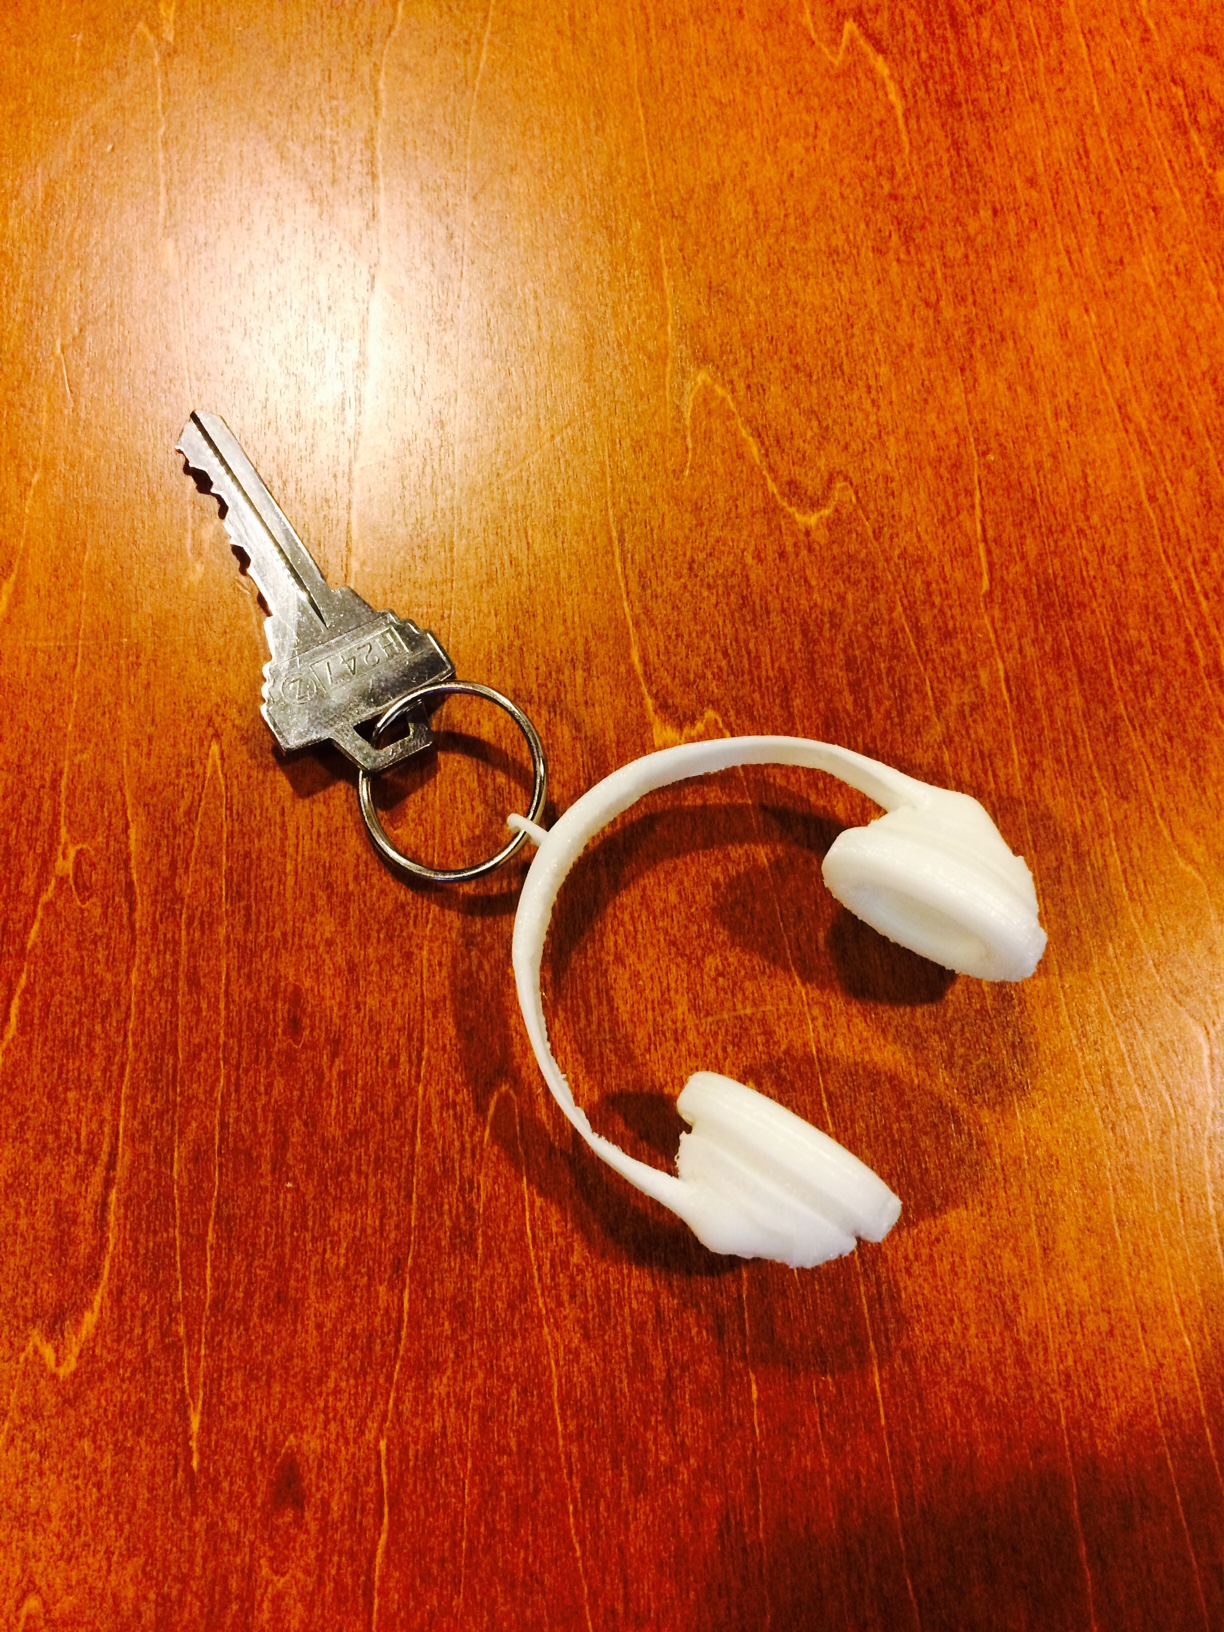 |
 |
 |
 |
If you got an artist's soul, you can paint it! I am not the greatest painter ever so I used a spray, but if you have more patience and skills, knock yourself out!
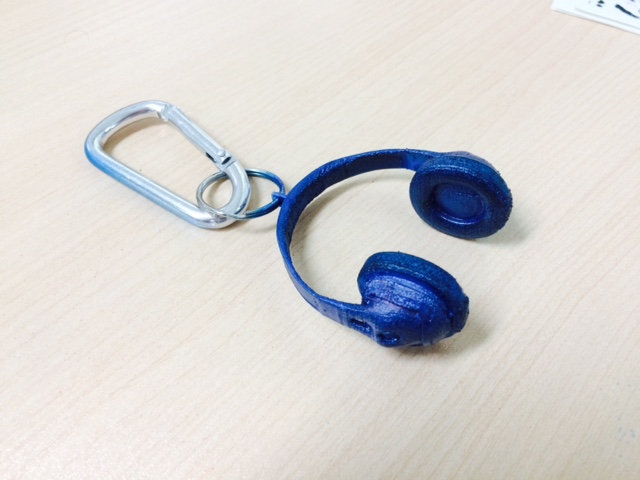
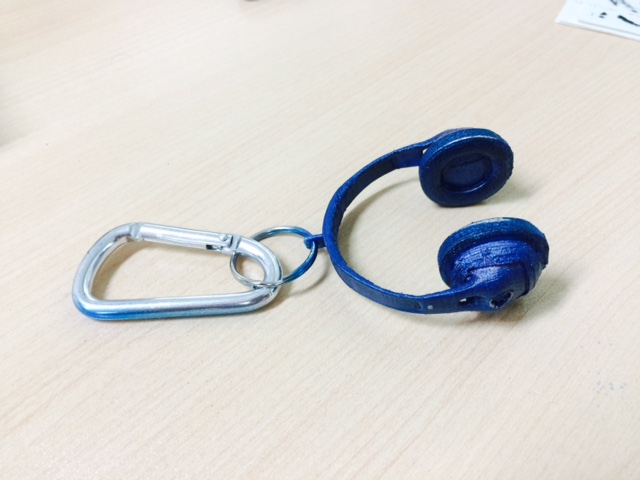
That's it! You can see that with Shade 3D, from the modeling to the mesh reparation, it is really easy to achieve some very decent result, your turn!


