


 Download Now
Installation
For the Windows users
- Go to "plugins/win" directory and select "BoneUtil.dll" if you want to use 32-bit version of plugin, or "BoneUtil64.dll" if you want to use 64-bit version.
- Then drag and drop the selected file to your local document directory where you will find "Shade 3D ver.14/plugins" directory. Simply drop the .dll file there.
For the Mac OS X users
- Go to "plugins/mac" folder and select "BoneUtil.shdplugin" file.
- Then drag and drop the selected file to your local "Documents" folder where you will find "Shade 3D ver.14/plugins" folder. Simply drop the file there.

How to access to BoneUtil?
Click the "Attributes" tab in your broswer.
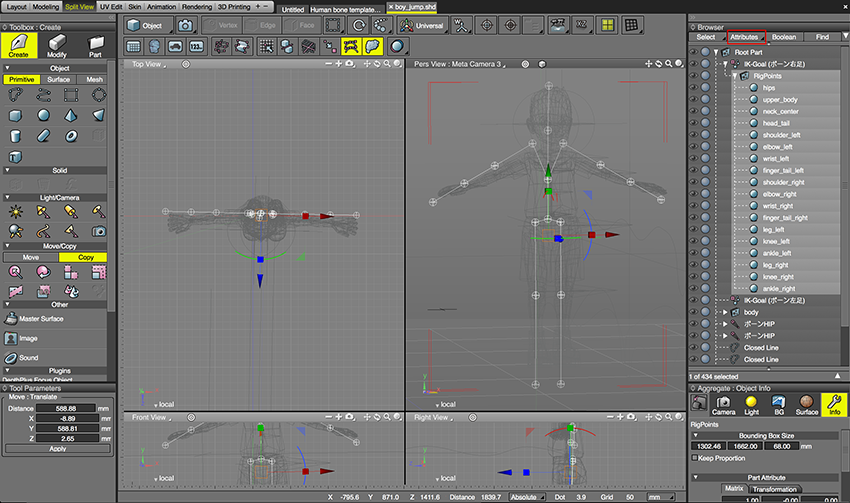
You will see the following drop down menu and have access to the following floating windows:
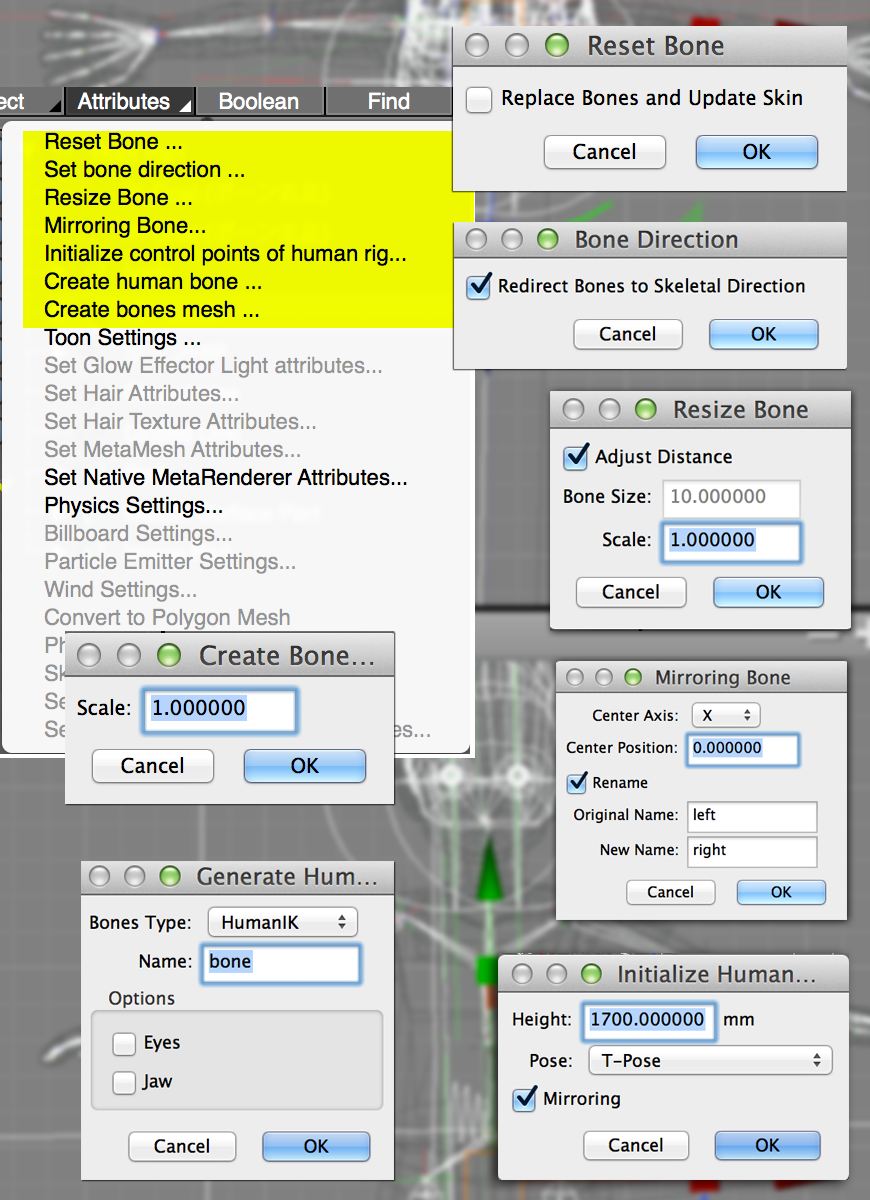
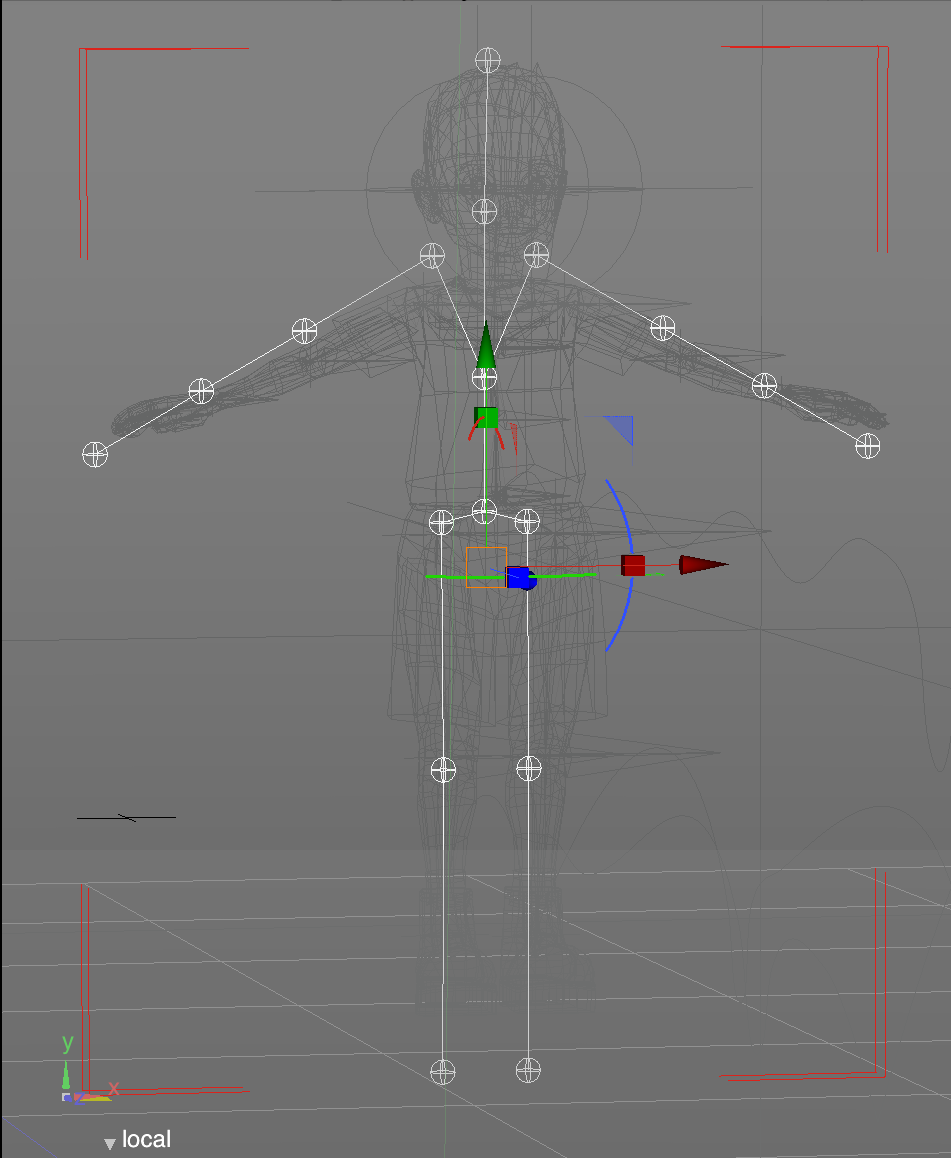
Intialize control points of Human rig:
By using the "Initialize control points of Human rig" option, you will access a dialogue box offering a height, a pose and a mirroring option. Click OK once you are satisfied with your settings. The bone structure will appear. The small spheres at each junctions can be manipulated in order to set a rough position for your bones.
Generate Human Bones:
Fron the Attributes menu in the browser, select "Create Human Bone", name your part and check both "Eyes" and "Jaw" checkboxes. Then click OK.
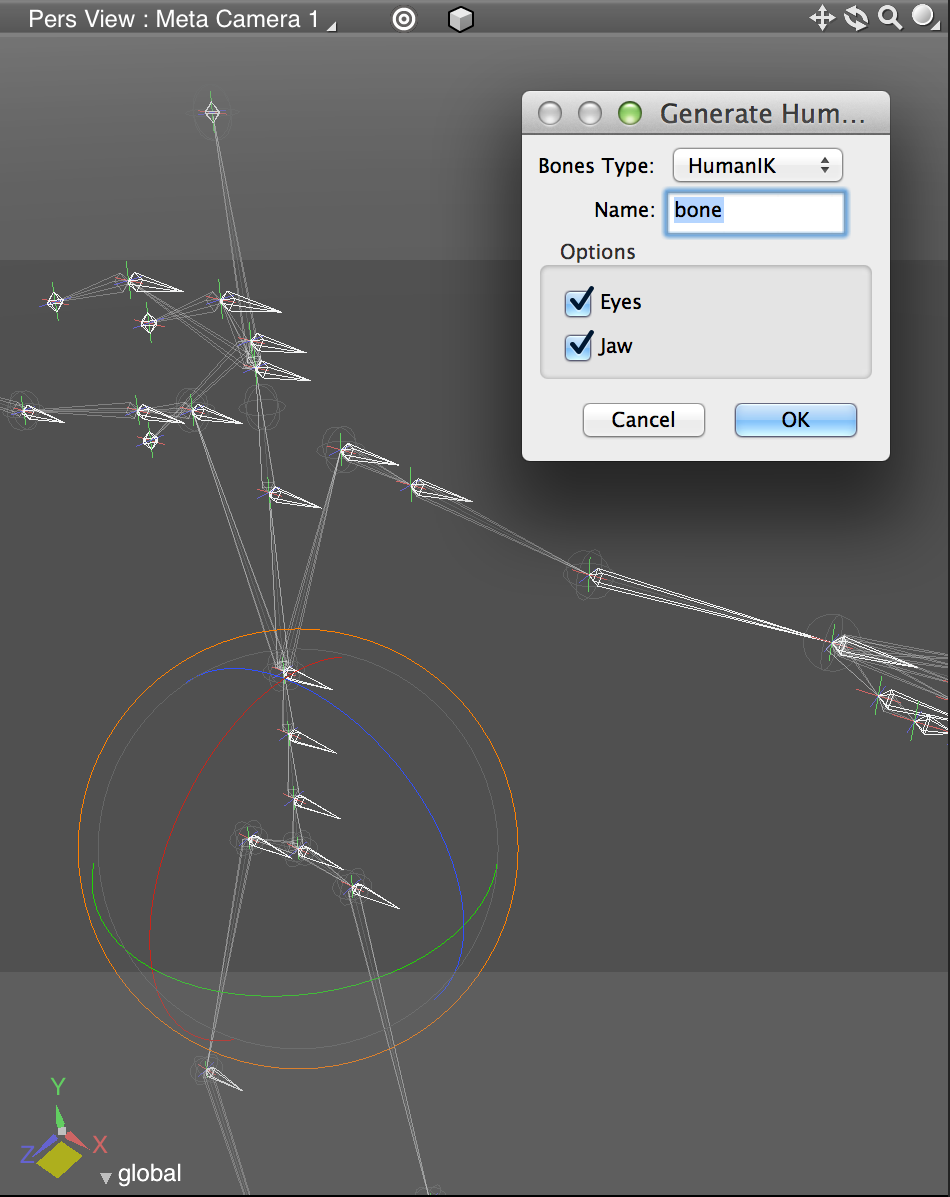
Now you can edit your structure in Shade 3D and get rid of the unnecessary parts.
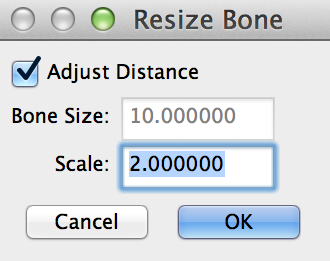
The resize window option is easy to use, you can resize your bones and adjust the distance. Here, the scale is changed to a value of 2.
Next Step is to adjust your bones direction. After selecting the "Bone Hip" folder in the browser, select the "Bone Direction" in the Attributes drop down menu and click OK (make sure that the "Redirect Bones to Skeletal Direction" boxe is checked.

Download Now