"In Japan (and other Asian countries), it is traditional practice to use an 印鑑 (aka 印章) (Hanko)— colloquially called a 判子 in Japanese or "chop" in British English — instead of a signature for acknowledging / signing / accepting documents."
(source: turning-japanese.info)
You probably followed the train story right? So yes, no suspense here, the 3D Printing will be involved one more time!
Now that you know in Japan, the Hanko is popular and used for signing documents, you will learn about Michi Sawae and the special request she asked Shade 3D's team member, Detta.
 |
Sawae san is the Director of team "Tukurujo".(http://tukurujyo.com/)
This team of 11 charming girls, all gifted with creative skills (Graphic Designer, Animation, Voice talent, Illustrator... http://tukurujyo.com/contents/profile.html ).
|
Sawae san asked to our in house CG Designer, Detta, if it was possible to create a 3D printed stamp matching her avater with a 3D printer and Shade 3D's help.
Challenge accepted.
 Modeling in Shade 3D
|
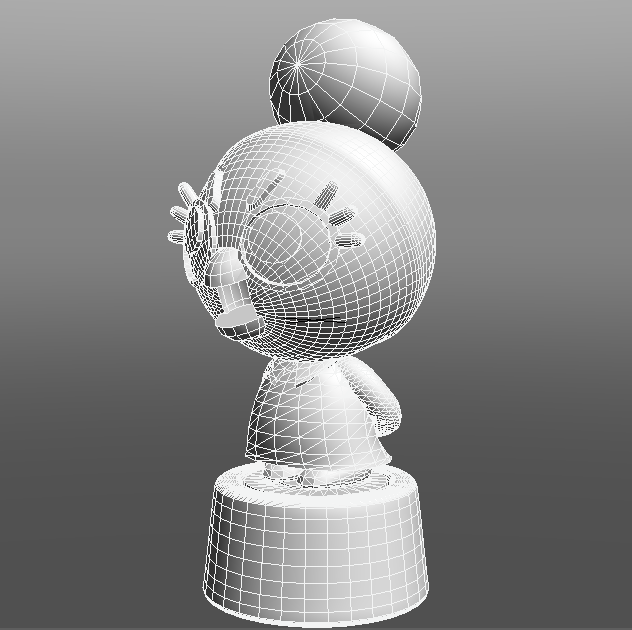
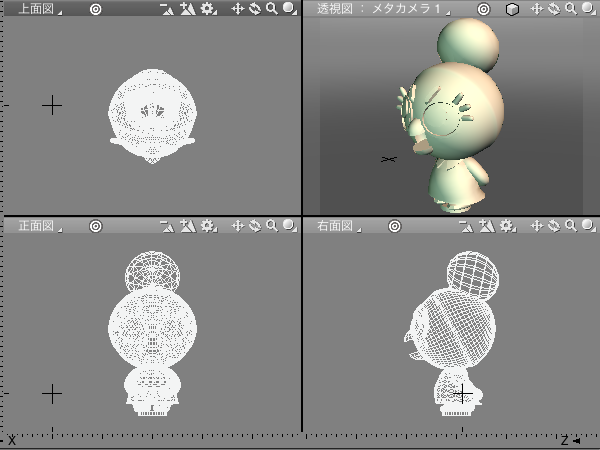
Since the illustration is simple, the modeling with Shade only took one hour. |
Some Boolean Operations help there! |
|
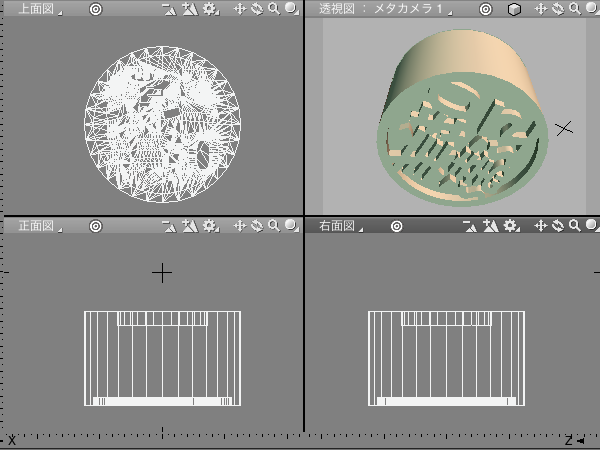
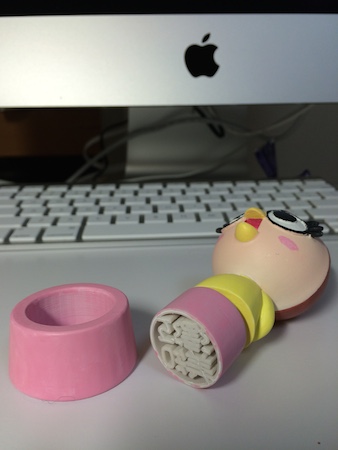
Here is the seal part: Kanji and cylinder's combination. |
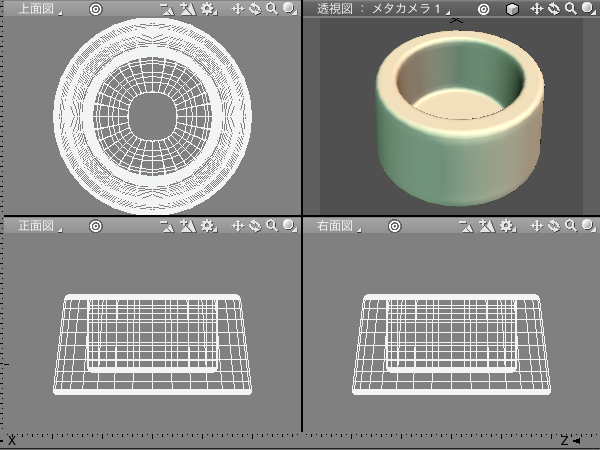
A simple base ! |
 3D printing time!
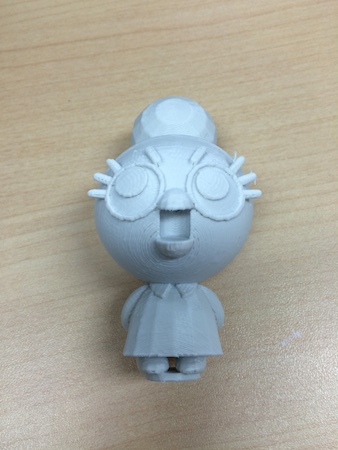
We will use some PLA filament in order to limit any warping during the printing. The layer thickness has been set to 0.2 mm.
 |
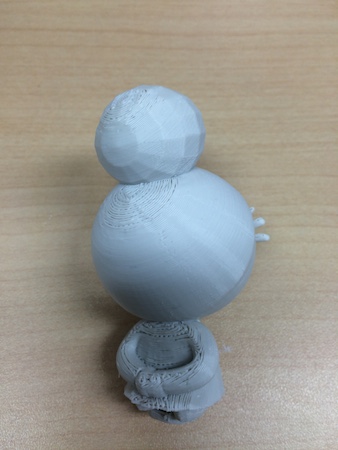 |
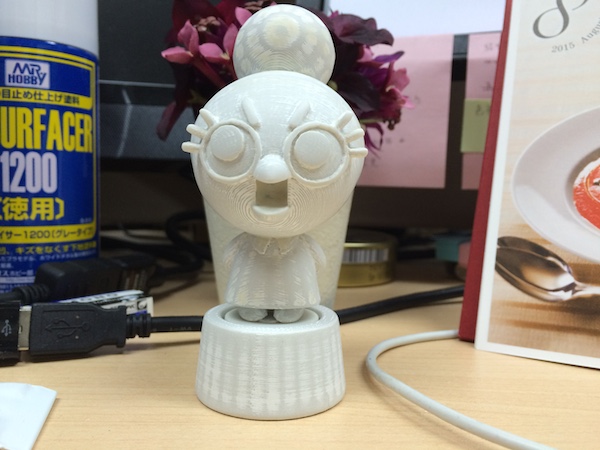
The model was set lying on its back on the printer's platform.
Then, some sand paper to smoothen the object! |
 Lets polish some more!
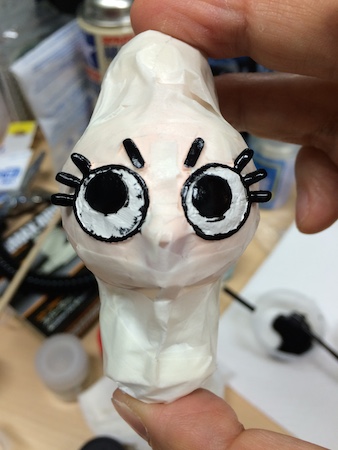
Here we will use some Surfacer 1000 to give a much more smooth aspect. The eye lines are a very tricky detail!
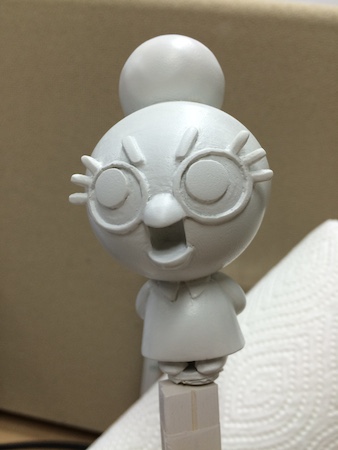
That is much better! We are getting far away from the after print's initial roughness!
 Coloring
White + red blown with an airbrush will create a pale orange, similar to the illustration.
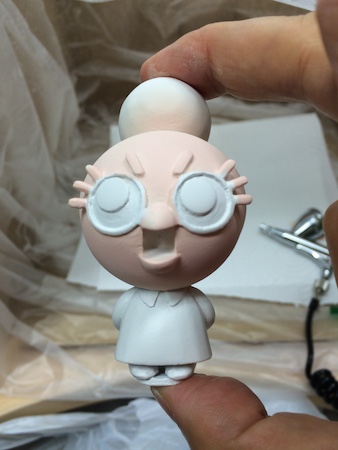
 Coloring: The Devil is in the details!
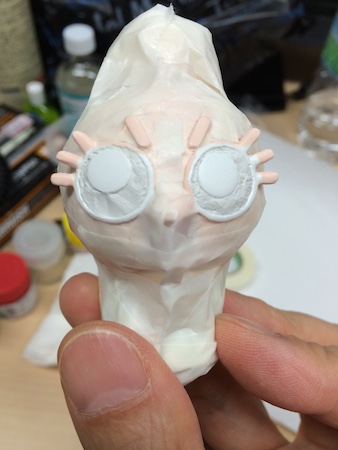
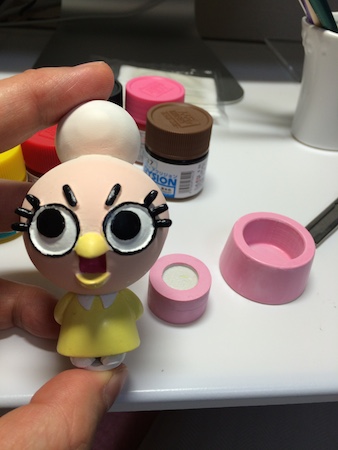
Lets wrap it and Paint it!
Yeah... Looks a bit like...
|
Airbrush for the face, wrapping to avoid any trouble! |
That look... |
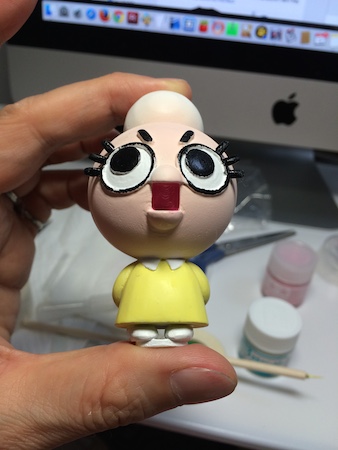
Brush Painting for the mouth... |
Pink color for the stamp part. |
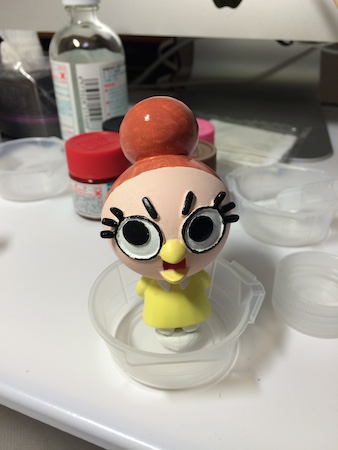
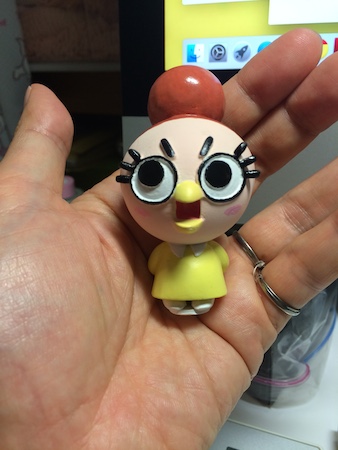
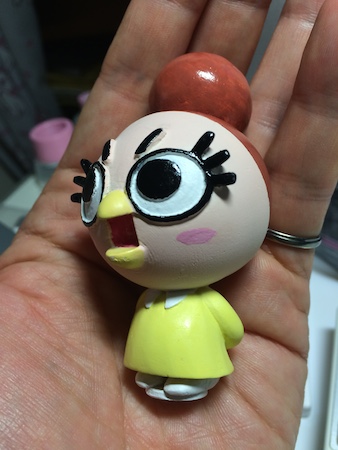
 Hair & Cheeks
A chosen color that will reproduce the original illustration's color tone.
 |
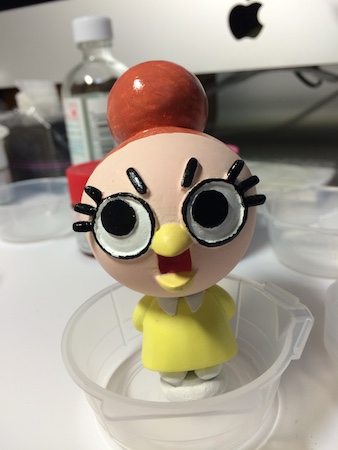 |
A cotton swab is a good tool to apply the color to the cheeks..
 |
 |
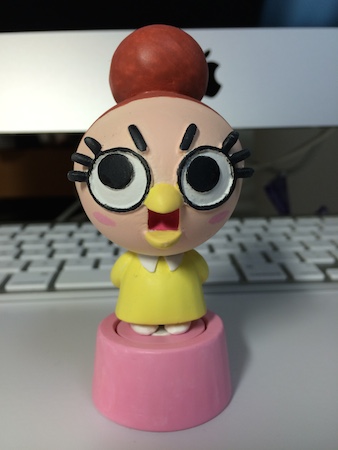
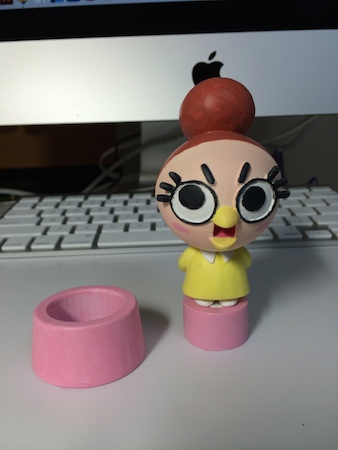
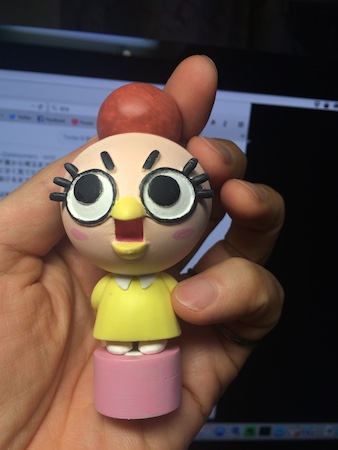
 Complete Set
 |
 |
 |
 |
 |
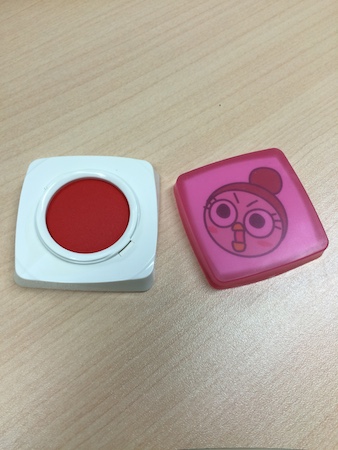 |
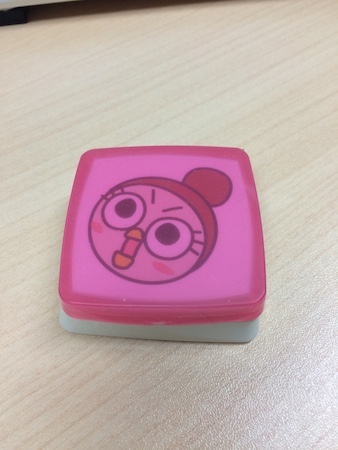
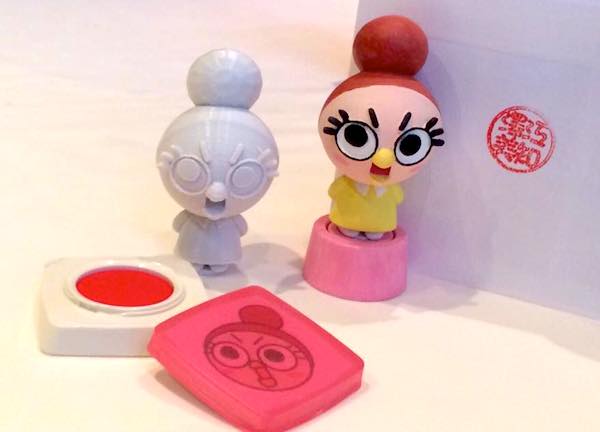
The ink case was found online and the illustration printed.
Mission completed!
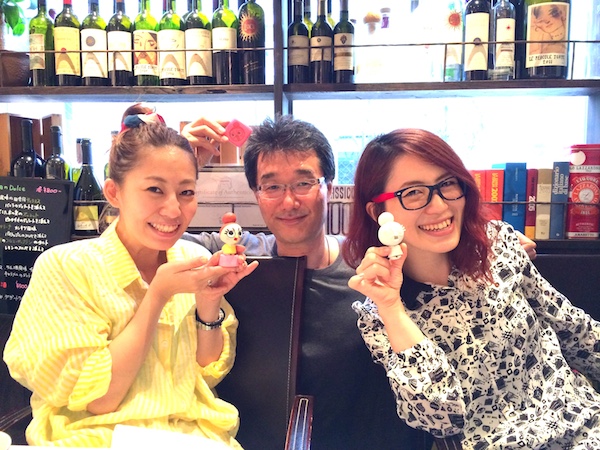
The total production time is about two weeks. From a rough print to an amazing detailed object with a smooth surface and an industrial look, home 3D Printing, with a little work, can achieve some really detailed products!
 |
 |
 |


